San Diego Jam
Reverse clinch · Heavy jam knot
Tying a hook, lure or jig to mono, fluorocarbon or braided line. The tag wraps down a doubled section toward the eye, then locks back up through the top loop.
Finished structure
Drawn from a rope model of this knot: which strand passes over which comes from where the rope actually lies.
- 1Loop over your finger2Doubled section
Move 1 of 1Push plenty of tag through the eye, fold it back along the line, and turn it over a fingerYou should now see: A narrow doubled section running from the eye up to your pinch, a small open loop over your finger, and the rest of the tag pointing back toward the eye. Step 01
Pass plenty of tag through the eye and fold it back along the standing line. Pinch both about 10 cm (4 in) above the eye, with the tag turned back over your index finger.
You should now seeA narrow doubled section running from the eye up to your pinch, a small open loop held over your finger, and the rest of the tag pointing back down toward the eye.
If it goes wrongToo little tag through the eye. You run out before the wraps and both passes are done, and the end is too short to pull.
Fix: Start again with more tag through the eye. The extra is trimmed off at the end.
Why: The loop over your finger is the one the tag goes back through in step 4, so keep it open and in hand until then. A heavy lure can hang below, or pinch the hook against your palm.
- 1Turns working toward the eye
Move 1 of 1Wrap the tag round both strands, working down from the loop toward the eyeYou should now see: A neat spiral of turns running down both strands to just above the eye, each beside the last, with the loop still open. Step 02
Wrap the tag end around both strands of the doubled section, working down from your fingers toward the eye: about 7 turns on light line, fewer on heavy line.
You should now seeA neat spiral of turns running down the doubled line to just above the eye, each turn beside the last, with the loop at your finger still open.
If it goes wrongTurns that cross over each other, or wraps around one strand only. You see a turn riding on top of another, or one strand of the double lying outside the wraps.
Fix: Unwind to the last clean turn and wrap on from there, making sure each turn goes around both strands.
Why: Animated Knots gives about 7 to 8 turns on light line down to 3 on heavy line. The turns form the barrel that grips the line, and crossed turns cut into each other as the knot closes.
- 1Between the strands
Move 1 of 1Push the tag between the two strands just above the eye, below the last turnYou should now see: The tag coming out through the small opening between the eye and the lowest turn, with the turns still in place above it. Step 03
Push the tag end between the two strands of the doubled line just above the eye, below the last wrap.
You should now seeThe tag coming out through the small opening between the eye and the lowest wrap, with the turns still in place above it.
If it goes wrongPassing the tag through a gap between two wraps instead of the opening at the eye. The tag comes out partway up the barrel and the turns start to loosen.
Fix: Pull the tag back out and feed it through the opening right next to the eye.
Why: This pass takes the tag across the base of the knot, next to the eye, before it runs back up the outside of the wraps.
- 1Through the top loop
Move 1 of 1Bring the tag back up along the turns and out through the loop at the topYou should now see: The tag lying up the outside of the turns and out through the top loop, running beside the standing line. Step 04
Bring the tag back up alongside the wraps and pass it through the loop you have been holding over your finger, then take your finger out.
You should now seeThe tag lying up the outside of the wraps and out through the top loop, running parallel to the standing line.
If it goes wrongSkipping this pass and going straight to tightening. The tag stays down at the eye instead of coming out of the top loop, and the knot can slip apart when pulled.
Fix: Before any tension goes on, bring the tag up and through the top loop. If the knot has already been pulled tight without it, cut it off and tie it again.
Why: Animated Knots describes this as passing back through the loop parallel to the line. The top loop closes around the tag as the knot tightens, and that is what locks it.
Move 1 of 1Wet it, pull the tag, then the standing line, so the turns close on the eyeYou should now see: A neat spiral of turns closed down against the eye with no gap and no turn over another, and a short tag. Step 05
Wet the knot and pull the tag to snug the wraps, then pull the standing line so the knot slides down tight against the eye. Trim the tag close.
You should now seeA neat spiral of turns closed down against the eye with no gap, no turn lying over another, and a short tag.
If it goes wrongStopping before the knot reaches the eye, or pulling so fast the turns pile over each other. You see a gap between the knot and the eye, or a turn crossed on top.
Fix: If there is a gap and the tag is still long, wet it and pull the tag and then the standing line again. If turns have crossed, cut it off and tie it again.
Why: Animated Knots advises tightening carefully so the turns form a neat spiral and do not overlap. A knot that stops short of the eye leaves its turns loose on the doubled line.
San Diego Jam — finished-state checks, on the shared reference layout
When this family fails, it fails as these. The recovered end still outranks the name.
A compact hitch or jam at the eye — fewer wraps, a different lock than a clinch barrel.
- !Lock never jammed to the eye — it is a loose hitch in disguise
- !Used on a small eye that cannot take the bulk of the jam
- !Confused with a clinch: the tag path is not a barrel tuck
- !Tag not passed back through the top loop, so the knot slips apart when pulled
- !Tag fed through a gap partway up the wraps, so the turns loosen
- !Knot left short of the eye, with its turns loose on the doubled line
- !Turns crossed over each other as the knot closed, so they cut into each other
Missed the second loop pass
Pulls off as a plain jam under load
The outer loop pass is what locks the San Diego stack · step 04
Crossed or reversed jam wraps
Uneven load across turns, early failure
Retention depends on parallel turns rolling down evenly · step 02
Jam stack never butted to the eye
Walks and abrades against hardware
The stack must bear directly on the eye · step 05
Stack never rolled down under wet tension
Unlocked — slips under shock
Roll-down is the San Diego lock, not a dry yank · step 05
Knot slips off under a hard pull, leaving a curly tag
Check
- ?Confirm the tag exits the second loop, not just the first
Then
- →Retie with both loop passes, seat wet and slow
Knot body sits proud and rattles at the eye
Check
- ?Count wraps: 6–7 on light line, 5 on heavy
Then
- →Drop a wrap and seat harder on the standing line
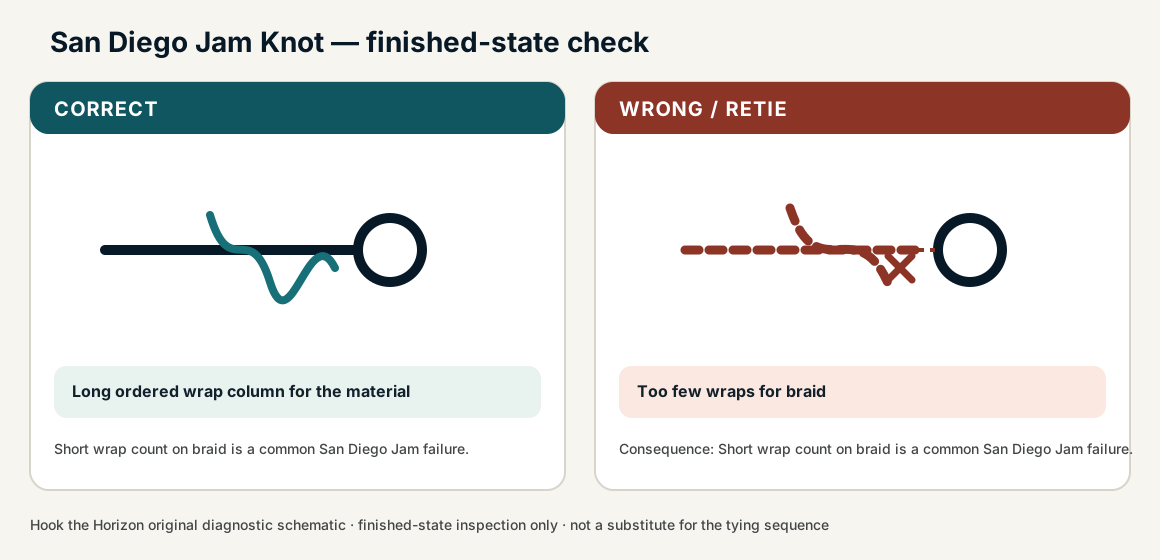
Finished check failed — Too few wraps for braid
Check
- ?Long ordered wrap column for the material
- ?Clean seat after the final tuck
- ?No reverse wraps
Then
- →Retie. Short wrap count on braid is a common San Diego Jam failure.
Missed the second loop pass
Check
- ?Pulls off as a plain jam under load
- ?Inspect step 04
Then
- →Retie. Do not dress a defective structure and call it seated.
Crossed or reversed jam wraps
Check
- ?Uneven load across turns, early failure
- ?Inspect step 02
Then
- →Retie. Do not dress a defective structure and call it seated.
Jam stack never butted to the eye
Check
- ?Walks and abrades against hardware
- ?Inspect step 05
Then
- →Retie. Do not dress a defective structure and call it seated.
Same failure class, different geometry. Open the plates — Diagnose still starts from the symptom.
Not ideal for
- ×Very light tippet work
- ×Situations needing a free-swinging loop