Pitzen Knot
16-20 knot · Pitzen
Tying a hook, lure or fly to line or tippet. NetKnots notes it is easier to tie in lighter line or tippet than in heavier line.
Finished structure
No drawing of this exact knot yet. The written steps are the reference.
- Diagram in reviewA drawing of the Pitzen Knot itself is being made. Until then, follow the written steps.
Step 01
Push the tippet through the hook eye and bring the tag back under the standing line, so the tag and standing line run side by side.
No drawing of this exact knot yet. The written steps are the reference.
You should now seeTwo parallel strands leaving the eye with the tag lying underneath the standing line and a long tag free to wrap with.
If it goes wrongStarting with a short tag. Four wraps plus the tuck through the finger loop use more tippet than they look, and the tag runs out before the tuck.
Fix: Pull more tippet through the eye before you start wrapping. It is easier than finishing the knot with a stub.
Why: NetKnots brings the tag back under the standing line. Following that layout keeps your knot matching the wrap and tuck in the next two steps.
- Diagram in reviewA drawing of the Pitzen Knot itself is being made. Until then, follow the written steps.
Step 02
Hook the line over your index fingertip to hold a small loop open, then wind the tag four times around both parallel strands, working back down toward the eye.
No drawing of this exact knot yet. The written steps are the reference.
You should now seeFour neat wraps around both strands, running from your fingertip toward the eye, with the small loop still held open on your finger.
If it goes wrongWraps crossing over each other, or winding away from the eye instead of toward it. The tag then finishes out of reach of the finger loop.
Fix: Unwind to the fingertip and wind again toward the eye, laying each wrap next to the last.
Why: The four wraps close around the standing line to form the grip. Crossed wraps do not bed evenly, and the knot seats lumpy.
- Diagram in reviewA drawing of the Pitzen Knot itself is being made. Until then, follow the written steps.
Step 03
Pass the tag end back through the small loop held on your finger, then slip your finger out.
No drawing of this exact knot yet. The written steps are the reference.
You should now seeThe tag comes out through the small loop, and the wraps and loop hold their shape loosely without your finger in them.
If it goes wrongLetting the finger loop collapse before the tag goes through, or passing the tag beside the loop instead of through it. The knot falls apart when pulled.
Fix: Keep the fingertip in the loop until the tag is through. If the tag missed, back it out and pass it through the loop again.
Why: This tuck locks the tag inside the wraps. The pull in step 4 closes the loop around it.
- Diagram in reviewA drawing of the Pitzen Knot itself is being made. Until then, follow the written steps.
Step 04
Pull the tag to close the knot on the standing line. Wet the knot, slide it down to the eye with your fingertips, then pull tight and trim the tag.
No drawing of this exact knot yet. The written steps are the reference.
You should now seeA small, compact knot sitting against the hook eye, the wraps closed neatly and the tag trimmed short.
If it goes wrongDragging the knot down to the eye by pulling the standing line. The line rubs through the knot and heats, and the knot can stop short of the eye.
Fix: Stop pulling the standing line. Wet the knot again and push it down with your fingertips. If the line looks scuffed or kinked, cut it off and retie.
Why: NetKnots closes the knot on the standing line first, slides it to the eye by hand, and only then pulls tight. Moving it by pulling the standing line makes the line saw through the closed wraps.
Pitzen Knot — finished-state checks, on the shared reference layout
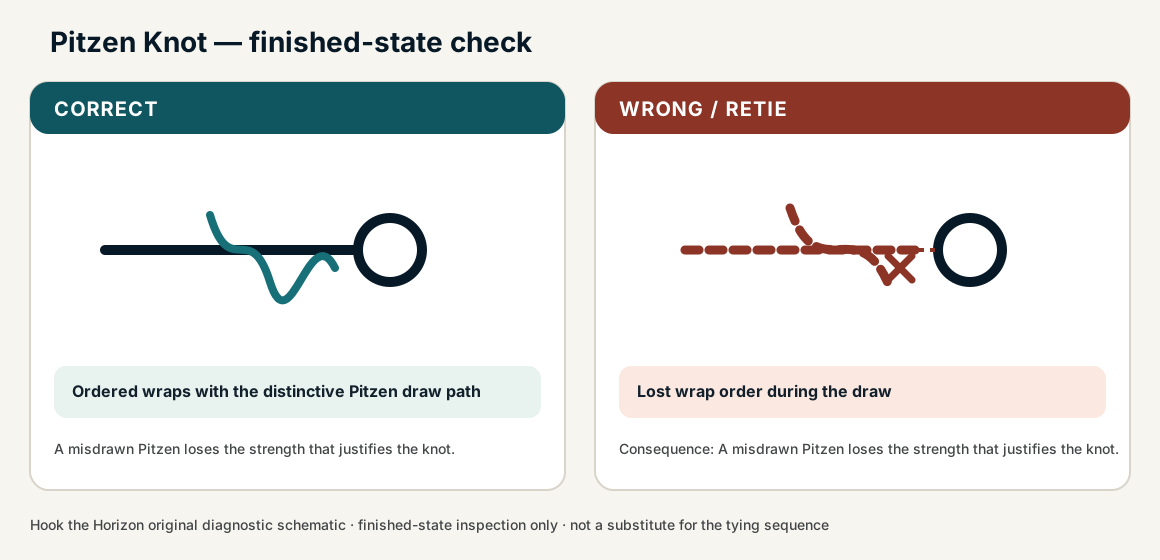
When this family fails, it fails as these. The recovered end still outranks the name.
A compact hitch or jam at the eye — fewer wraps, a different lock than a clinch barrel.
- !Lock never jammed to the eye — it is a loose hitch in disguise
- !Used on a small eye that cannot take the bulk of the jam
- !Confused with a clinch: the tag path is not a barrel tuck
- !Tag passed beside the finger loop instead of through it, so the knot falls apart
- !Crossed wraps that do not bed evenly, so the knot seats lumpy
- !Pulled to the eye by the standing line, which heats the line and can leave the knot short of the eye
Guessed wrap count, uneven stack
The usual unexplained Pitzen break
Pitzen retention is wrap count and even coil, not folklore · step 01
Seated early on a wrong path
Locks a defective structure you cannot inspect
Do not seat until the tag path is the Pitzen path · step 02
Tag buried in the stack
Unverifiable — treat as failed
A buried Pitzen tag is not a finish · step 03
Fails under load
Check
- ?Compact even stack at eye
Then
- →Retie slowly
- →Practice offline
Finished check failed — Lost wrap order during the draw
Check
- ?Ordered wraps with the distinctive Pitzen draw path
- ?Coil seats tightly to the eye
- ?Tag exits controlled
Then
- →Retie. A misdrawn Pitzen loses the strength that justifies the knot.
Guessed wrap count, uneven stack
Check
- ?The usual unexplained Pitzen break
- ?Inspect step 01
Then
- →Retie. Do not dress a defective structure and call it seated.
Seated early on a wrong path
Check
- ?Locks a defective structure you cannot inspect
- ?Inspect step 02
Then
- →Retie. Do not dress a defective structure and call it seated.
Tag buried in the stack
Check
- ?Unverifiable — treat as failed
- ?Inspect step 03
Then
- →Retie. Do not dress a defective structure and call it seated.
Same failure class, different geometry. Open the plates — Diagnose still starts from the symptom.
Not ideal for
- ×Cold hands in high wind without practice
- ×Braid