Orvis Knot
Orvis tippet knot (terminal form)
Ties tippet to a hook or fly with a small knot built on a figure eight. Animated Knots says it works in light and heavy line and in any tippet material.
Finished structure
No drawing of this exact knot yet. The written steps are the reference.
- Diagram in reviewA drawing of the Orvis Knot itself is being made. Until then, follow the written steps.
Step 01
Push the tippet up through the hook eye from underneath, then take the tag behind the standing line.
No drawing of this exact knot yet. The written steps are the reference.
You should now seeThe tippet comes up through the eye from below, with the tag lying behind the standing line and an open turn of line between them.
If it goes wrongThreading the eye from the top. The turns then lie the other way round and the figure eight in step 2 does not come out as shown.
Fix: Pull the tippet back out and feed it up from underneath before going on.
Why: The direction through the eye sets which side the loops of the figure eight fall on, and the passes in step 3 follow from that layout.
- Diagram in reviewA drawing of the Orvis Knot itself is being made. Until then, follow the written steps.
Step 02
Cross the tag back over the standing line and pass it through the first loop you made, forming a figure eight above the eye.
No drawing of this exact knot yet. The written steps are the reference.
You should now seeA clear figure eight shape in the tippet just above the eye, with both of its loops still open.
If it goes wrongMissing the cross over the standing line, which leaves a single plain loop instead of a figure eight.
Fix: Undo the tag back to the eye and make the cross over the standing line again before tucking through the first loop.
Why: The figure eight makes the second loop that the tag passes through in step 3. Without it there is nothing for those turns to lock into.
- Diagram in reviewA drawing of the Orvis Knot itself is being made. Until then, follow the written steps.
Step 03
Feed the tag from behind through the top of the right-hand loop of the eight, then go through that same loop from behind a second time.
No drawing of this exact knot yet. The written steps are the reference.
You should now seeTwo turns of the tag through the right-hand loop, lying side by side, with the figure eight still loose.
If it goes wrongMaking only one pass, or entering the loop from the front. The knot draws down crooked or creeps under load.
Fix: Back the tag out and redo both passes from behind. Count two turns before you wet the knot.
Why: The two turns wrap the tag around the loop so that tightening clamps it. With one turn the tag has less holding it and can creep.
- Diagram in reviewA drawing of the Orvis Knot itself is being made. Until then, follow the written steps.
Step 04
Wet the knot and pull the tag to close it. Then pull the hook, the standing line and the tag in turn until the knot seats on the eye, and trim the tag.
No drawing of this exact knot yet. The written steps are the reference.
You should now seeA small, symmetrical knot sitting squarely on the eye, with both turns snug and the tag cut short.
If it goes wrongHauling only on the standing line. The knot seats off to one side of the eye, and turns can slip over each other.
Fix: If the knot is crooked or a turn has crossed, cut it off and tie again, alternating the pull between hook, standing line and tag.
Why: Alternating tension lets the knot close evenly on the eye. Pulling one end alone closes one side first and drags the knot off centre.
Orvis Knot — finished-state checks, on the shared reference layout
When this family fails, it fails as these. The recovered end still outranks the name.
Fine tippet at the eye, or fly-line to leader with a tube or nail.
- !Hitch path around the eye instead of through it
- !Single pass where two were the job
- !Gap at the tube or nail on a fly-line join
- !Only one pass went through the right-hand loop, or it went in from the front, and the knot draws down crooked or creeps under load
- !The cross over the standing line was missed, so there is no figure eight for the two passes to lock into
- !It was seated by hauling on the standing line alone, so it sits to one side of the eye and the turns slip over each other
Compact path incomplete — not an Orvis
Slips or opens under a short tag
Orvis is a specific compact sequence, not a generic hitch · step 03
Dry half-seat on fluoro
Glazes the tippet before it sees a fish
A moist, complete seat is the lock on fluoro · step 02
Tag too short to finish the compact path
The sequence cannot complete
Leave working length until the stack is locked · step 01
Slips or opens
Check
- ?Structure tight at eye
Then
- →Retie
- →Compare to vetted diagram
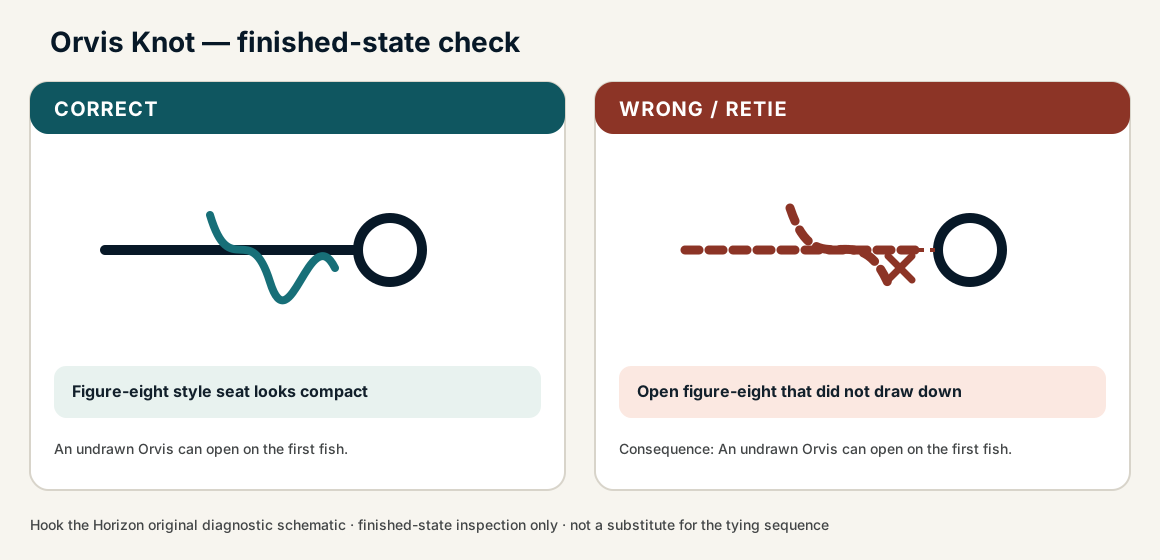
Finished check failed — Open figure-eight that did not draw down
Check
- ?Figure-eight style seat looks compact
- ?Tag and standing line exit cleanly
- ?No open loops after pull test
Then
- →Retie. An undrawn Orvis can open on the first fish.
Compact path incomplete — not an Orvis
Check
- ?Slips or opens under a short tag
- ?Inspect step 03
Then
- →Retie. Do not dress a defective structure and call it seated.
Dry half-seat on fluoro
Check
- ?Glazes the tippet before it sees a fish
- ?Inspect step 02
Then
- →Retie. Do not dress a defective structure and call it seated.
Tag too short to finish the compact path
Check
- ?The sequence cannot complete
- ?Inspect step 01
Then
- →Retie. Do not dress a defective structure and call it seated.
Same failure class, different geometry. Open the plates — Diagnose still starts from the symptom.
Not ideal for
- ×Heavy braid terminals
- ×Large saltwater hooks without testing