Turle Knot
Turtle knot · Turle
Tying a fly with a turned-up or turned-down eye to tippet. The loop closes around the fly's head behind the eye, so the pull runs in line with the hook shank.
Finished structure
No drawing of this exact knot yet. The written steps are the reference.
- Diagram in reviewA drawing of the Turle Knot itself is being made. Until then, follow the written steps.
Step 01
Thread the fly onto the tippet and slide it well up the line, leaving several inches of tag, about 10 cm (4 in), to tie with. Check the fly has a turned-up or turned-down eye.
No drawing of this exact knot yet. The written steps are the reference.
You should now seeThe fly slides freely on the tippet, well clear of the tag, and its eye is bent up or down from the shank.
If it goes wrongStarting on a fly with a straight eye. You can see the eye in line with the shank, and the Turle is meant for turned eyes.
Fix: Use a different knot for straight-eye flies, such as a Davy or a clinch.
Why: The Turle's loop closes around the fly's head behind the eye, so the tippet comes out of the eye in line with the shank. A turned eye leaves room for that.
- Diagram in reviewA drawing of the Turle Knot itself is being made. Until then, follow the written steps.
Step 02
Double the tag back along the tippet toward the fly, then bring the tag behind and over the doubled line to make a loop.
No drawing of this exact knot yet. The written steps are the reference.
You should now seeAn open loop in the doubled line, large enough for the whole fly to pass through later.
If it goes wrongMaking the loop too small, or crossing the tag in front first instead of behind, so the overhand in step 3 twists and the loop will not open over the fly.
Fix: Undo the tag and form the loop again, behind and then over, a little larger than the fly.
Why: This loop is the part that goes over the fly and grips its head, so its size decides whether the fly can pass through.
- Diagram in reviewA drawing of the Turle Knot itself is being made. Until then, follow the written steps.
Step 03
Pass the tag through the loop twice to tie a double overhand knot, and tighten that overhand while leaving the large loop open.
No drawing of this exact knot yet. The written steps are the reference.
You should now seeA small, tight double overhand knot on the tippet, with the large loop still open and able to slide.
If it goes wrongPassing the tag through only once, or pulling the loop closed while tightening the overhand, which leaves no loop to put over the fly.
Fix: If the overhand has only one pass, undo it and add the second. If the loop has closed, slide the knot back along the tippet to open it.
Why: NetKnots shows the Improved Turle with a double overhand. The second pass gives the knot more grip on the tippet than a single overhand.
- Diagram in reviewA drawing of the Turle Knot itself is being made. Until then, follow the written steps.
Step 04
Slip the loop over the fly so it sits behind the eye, then pull the tippet to draw the knot tight against the eye. Trim the tag.
No drawing of this exact knot yet. The written steps are the reference.
You should now seeThe knot sits behind the eye around the fly's head, and the tippet comes out through the eye in line with the hook shank.
If it goes wrongPulling tight before the loop is fully behind the eye. The knot sets on the front of the eye and the fly hangs at an angle.
Fix: If the knot has set on the eye rather than behind it, cut it off and tie again, checking the loop position before the final pull.
Why: Seated behind the eye, the pull comes straight down the shank, which keeps the fly riding level.
Turle Knot — finished-state checks, on the shared reference layout
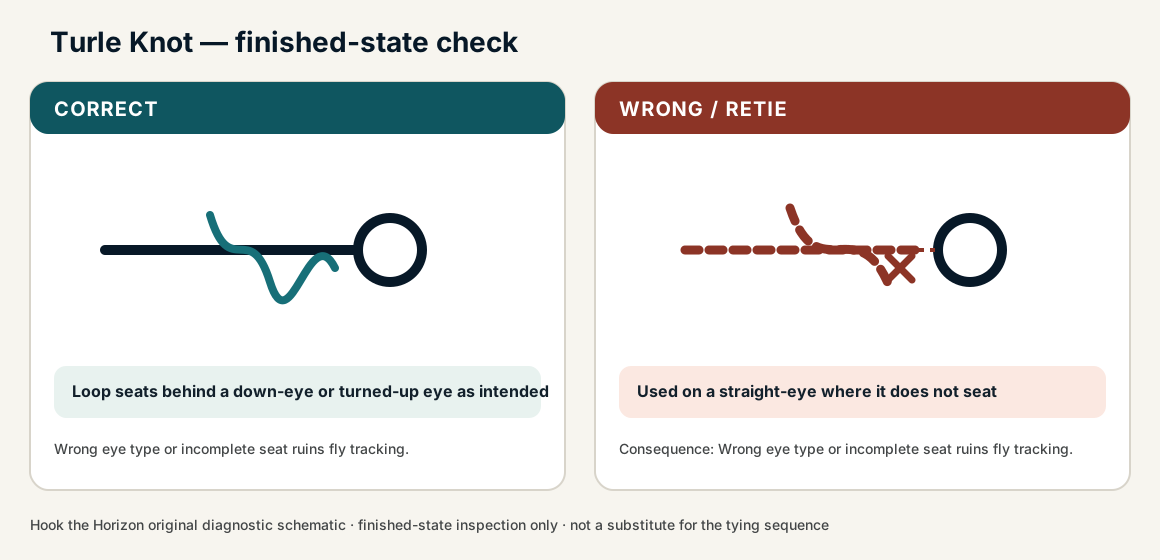
When this family fails, it fails as these. The recovered end still outranks the name.
Fine tippet at the eye, or fly-line to leader with a tube or nail.
- !Hitch path around the eye instead of through it
- !Single pass where two were the job
- !Gap at the tube or nail on a fly-line join
- !Pulled tight before the loop is behind the eye, so the knot sets on the front of the eye and the fly hangs at an angle
- !Double overhand tied with only one pass, which grips the tippet less
- !Tied to a straight-eye fly, with no room behind the eye for the loop to close
Collar sitting mid-shank instead of the eye
Fly cocks off-axis
A Turle collars the eye; a shank cinch is a different knot · step 02
Incomplete cinch on a ring eye
The knot rolls and the fly fishes off-axis
Ring eyes that will not take a collar need a different terminal · step 03
No loop formed to collar the eye
You cannot Turle without the loop
The loop around the standing part is the collar · step 01
Fly cocks off-axis or knot slips
Check
- ?Fly alignment with tippet
Then
- →Retie
- →Consider Orvis/Davy for pure strength
Finished check failed — Used on a straight-eye where it does not seat
Check
- ?Loop seats behind a down-eye or turned-up eye as intended
- ?Knot draws up cleanly on the eye neck
- ?Fly rides true
Then
- →Retie. Wrong eye type or incomplete seat ruins fly tracking.
Collar sitting mid-shank instead of the eye
Check
- ?Fly cocks off-axis
- ?Inspect step 02
Then
- →Retie. Do not dress a defective structure and call it seated.
Incomplete cinch on a ring eye
Check
- ?The knot rolls and the fly fishes off-axis
- ?Inspect step 03
Then
- →Retie. Do not dress a defective structure and call it seated.
No loop formed to collar the eye
Check
- ?You cannot Turle without the loop
- ?Inspect step 01
Then
- →Retie. Do not dress a defective structure and call it seated.
Same failure class, different geometry. Open the plates — Diagnose still starts from the symptom.
Not ideal for
- ×Maximum strength critical tippet (modern compact knots often preferred)
- ×Braid