Centauri Knot
Fig 8 knot · Centauri
Sliding-collar mono terminal that also serves as a simple spool attachment; low-friction close on nylon.
Finished structure
No drawing of this exact knot yet. The written steps are the reference.
- Diagram in reviewA drawing of the Centauri Knot itself is being made. Until then, follow the written steps.
Step 01
Pass the line through the eye of the hook and, with the tag end, form a loop around the standing line.
No drawing of this exact knot yet. The written steps are the reference.
You should now seeOne open loop of tag around the standing line a short way above the eye, with the tag end free to form the next loop.
If it goes wrongPulling the first loop snug as you form it, so it grips the standing line before the other two are made. The loop shrinks into a tight turn.
Fix: Open the loop back up with a fingertip and hold it open while you make the next two.
Why: All three loops close together at the end. A loop that closes early leaves no room for the tag to pass through it in step 3.
- Diagram in reviewA drawing of the Centauri Knot itself is being made. Until then, follow the written steps.
Step 02
Make a second loop around the standing line the same way as the first, then a third, and hold all three open together.
No drawing of this exact knot yet. The written steps are the reference.
You should now seeThree open loops of tag lying side by side around the standing line, about the same size and all turning the same way.
If it goes wrongForming the second or third loop the opposite way round, or letting the middle loop collapse. The loops cross each other instead of lying side by side.
Fix: Let go of the loops that are wrong and form them again the same way as the first, holding each one open as you add the next.
Why: Loops formed the same way close into an even collar. A reversed or collapsed loop leaves a crossing that stops the collar closing and sliding cleanly.
- Diagram in reviewA drawing of the Centauri Knot itself is being made. Until then, follow the written steps.
Step 03
Run the tag end through all three loops, then pull gently on the tag so the loops close onto the standing line.
No drawing of this exact knot yet. The written steps are the reference.
You should now seeA neat collar gripping the standing line, with the hook hanging from a loop of line below it.
If it goes wrongMissing one of the loops with the tag, or yanking the tag hard. A missed loop hangs open beside the collar, and a hard yank kinks the mono.
Fix: Loosen the collar, pass the tag through the loop it missed, and close it again with a gentle pull.
Why: NetKnots notes this knot puts little friction on the line, so it does not distort the mono the way some more complex knots do. A gentle pull lets the three loops close evenly.
- Diagram in reviewA drawing of the Centauri Knot itself is being made. Until then, follow the written steps.
Step 04
Slide the collar down the standing line until it sits on the eye of the hook, pull it firm, then trim the tag.
No drawing of this exact knot yet. The written steps are the reference.
You should now seeThe collar resting on the eye with no loop of line left between them, holding its place under a firm pull, and a short tag.
If it goes wrongTrimming while the collar still sits up the line, leaving a small loop between the knot and the eye. The collar can creep under load.
Fix: If the tag is still long, slide the collar down and pull again. If it was already trimmed, cut the knot off and tie it again.
Why: The same collar can be slid down onto a reel arbor instead of a hook eye, which NetKnots gives as an alternative to the arbor knot.
Centauri Knot — finished-state checks, on the shared reference layout
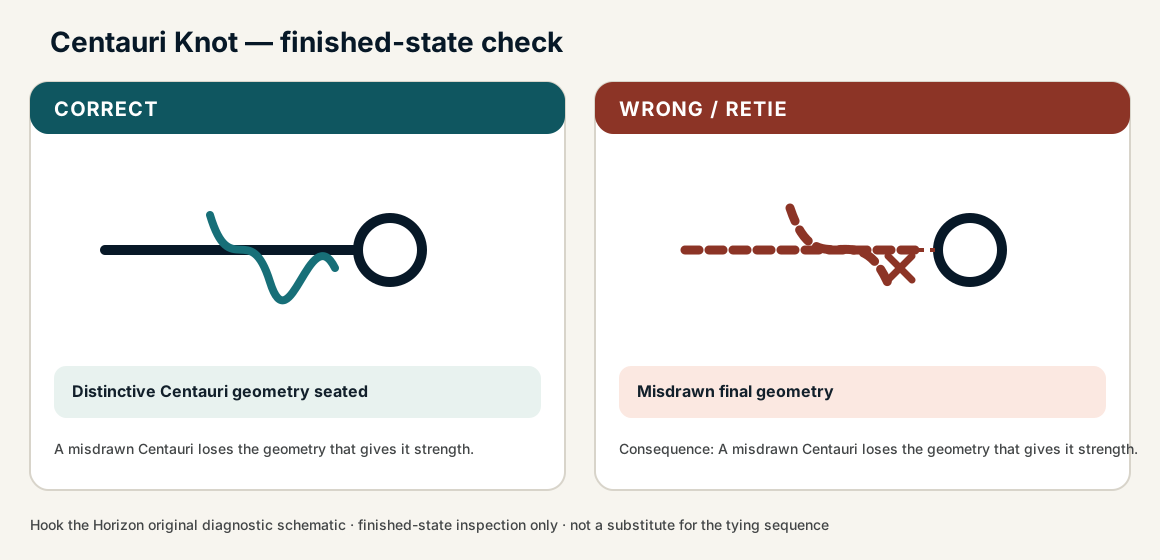
When this family fails, it fails as these. The recovered end still outranks the name.
A compact hitch or jam at the eye — fewer wraps, a different lock than a clinch barrel.
- !Lock never jammed to the eye — it is a loose hitch in disguise
- !Used on a small eye that cannot take the bulk of the jam
- !Confused with a clinch: the tag path is not a barrel tuck
- !The tag was trimmed with the collar still up the line, leaving a small loop above the eye, and the collar creeps under load
- !A loop was reversed or collapsed, and the crossing stops the collar closing and sliding cleanly
- !The tag missed a loop, which hangs open beside the collar instead of closing into it
- !The tag was yanked hard to close the collar, kinking the mono
Loops closed out of order
No collar — the usual Centauri failure
Three loops in order make the sliding collar; a flipped first loop will not form it · step 01
Hard pull before the collar formed
Kinks nylon and the collar never seats
Form the collar, then seat; a yank is not a Centauri · step 03
Used on braid
A nylon collar on braid will not hold
Centauri is a mono knot — braid needs a different terminal · step 04
Collar walks or opens under load
Check
- ?Collar butted to the eye
- ?Three-loop stack visible
Then
- →Retie on nylon
- →Do not transfer this collar to braid
Finished check failed — Misdrawn final geometry
Check
- ?Distinctive Centauri geometry seated
- ?Clean tag exit
- ?No open loops
Then
- →Retie. A misdrawn Centauri loses the geometry that gives it strength.
Loops closed out of order
Check
- ?No collar — the usual Centauri failure
- ?Inspect step 01
Then
- →Retie. Do not dress a defective structure and call it seated.
Hard pull before the collar formed
Check
- ?Kinks nylon and the collar never seats
- ?Inspect step 03
Then
- →Retie. Do not dress a defective structure and call it seated.
Used on braid
Check
- ?A nylon collar on braid will not hold
- ?Inspect step 04
Then
- →Retie. Do not dress a defective structure and call it seated.
Same failure class, different geometry. Open the plates — Diagnose still starts from the symptom.
Not ideal for
- ×Braid-first terminals
- ×Fluoro-first use that has not been verified for this collar