J Knot
J-knot
Joining leader to tippet, or tippet to tippet, in lines of similar or different diameters.
Finished structure
No drawing of this exact knot yet. The written steps are the reference.
- Diagram in reviewA drawing of the J Knot itself is being made. Until then, follow the written steps.
Step 01
Lay the leader and the tippet side by side with their ends pointing in opposite directions, overlapping by several inches, about 15 cm (6 in).
No drawing of this exact knot yet. The written steps are the reference.
You should now seeTwo lines lying flat together over a hand's width, each end reaching well past the start of the other line.
If it goes wrongStarting with a short overlap. It looks like enough, but every pass uses up line and the ends run out before the last pass.
Fix: Slide the lines to lengthen the overlap before tying anything. If the ends have already run short, cut the knot out and start with a longer overlap.
Why: Each pass through the loop takes line from both ends, so the overlap decides whether you can finish all three passes and still have tags to hold.
- Diagram in reviewA drawing of the J Knot itself is being made. Until then, follow the written steps.
Step 02
Hold both lines together as one strand and tie a loose overhand knot in them, pulling the whole tippet through, and leave the loop open.
No drawing of this exact knot yet. The written steps are the reference.
You should now seeAn open overhand in the paired lines, the loop wide enough to pass the tippet through again, and the two lines still lying parallel through it.
If it goes wrongLetting the two lines twist around each other as the overhand forms. The pair crosses inside the loop and the knot closes lumpy and uneven.
Fix: Open the overhand, lay the two lines flat together again and retie it with the loop held wide.
Why: Lines that cross here stay crossed inside the finished knot, so one line takes more of the load than the other.
- Diagram in reviewA drawing of the J Knot itself is being made. Until then, follow the written steps.
Step 03
Pass both lines through the loop again from the top, then a second time from the top, then a third time from the bottom, so the last pass enters from the opposite side.
No drawing of this exact knot yet. The written steps are the reference.
You should now seeThree passes of the paired lines through the loop, the last one clearly entering from the other side, with both tags and both standing lines free to pull.
If it goes wrongMaking all three passes from the top. Every wrap then enters the loop the same way, which is a triple surgeon's knot rather than a J knot.
Fix: Back the last pass out and send both lines through again from the bottom. If the passes have tangled, open the knot back to the overhand and redo them.
Why: The reversed last pass wraps the knot from the opposite side. That change of direction is what separates the J knot from a triple surgeon's knot.
- Diagram in reviewA drawing of the J Knot itself is being made. Until then, follow the written steps.
Step 04
Wet the knot, then pull both standing lines and both tag ends apart slowly until the knot draws up. Trim both tags to about 3 mm, an eighth of an inch.
No drawing of this exact knot yet. The written steps are the reference.
You should now seeA compact knot with the wraps bedded evenly on both sides, no loose coil sticking up, and two short tags.
If it goes wrongPulling hard on dry line, or pulling only the standing lines so one side closes and the other stays loose. Dry fine tippet curls or turns cloudy at the knot.
Fix: If the tippet has curled or clouded at the knot, cut it off and tie again. If one side is only loose, wet it and pull all four ends again before trimming.
Why: Pulling all four ends closes both halves of the knot together. Friction on dry mono and fluorocarbon heats the line where the knot seats and weakens it.
J Knot — finished-state checks, on the shared reference layout
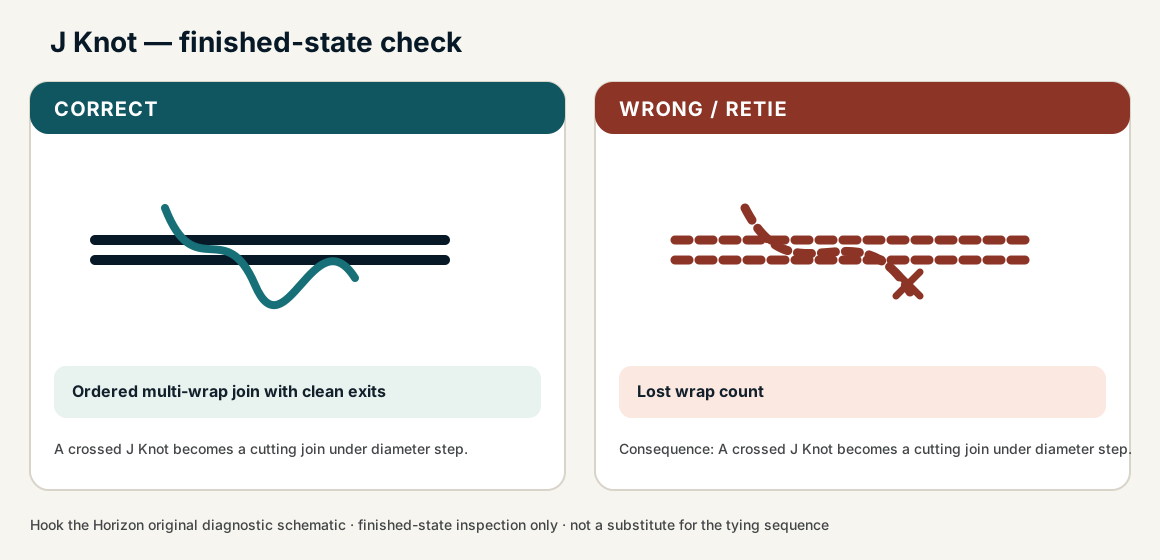
When this family fails, it fails as these. The recovered end still outranks the name.
Bight in the heavier leader; lighter line wraps the bight, then tucks.
- !Bight in the lighter line — the wraps have nothing to bite
- !Wraps walked off the bight instead of packed against the fold
- !Tag never tucked back through the bight, so the wraps dump
- !Lines crossed inside the overhand, so one line takes more of the load
- !Drawn up dry, which heats the line where it seats and weakens it
- !Only the standing lines pulled, leaving one side of the knot loose
- !Tied in braid, which Cast and Spear says may slip
Incomplete passes through the join
The usual J-Knot break at the tippet
Every pass is load-bearing; one missed pass is a hinge · step 02
Tippet step too large for this family
Fails at the join under the first hard take
J-Knot is a modest step, not an extreme mismatch · step 01
Dry fluoro seat
Glazed tippet at the join
Seat wet; an incomplete pass plus heat is a double fail · step 03
Fails at the tippet join
Check
- ?Even seat
- ?Diameter ratio
Then
- →Retie
- →Reduce tippet step
Finished check failed — Lost wrap count
Check
- ?Ordered multi-wrap join with clean exits
- ?Junction stays slim after seating
- ?No reverse wraps
Then
- →Retie. A crossed J Knot becomes a cutting join under diameter step.
Incomplete passes through the join
Check
- ?The usual J-Knot break at the tippet
- ?Inspect step 02
Then
- →Retie. Do not dress a defective structure and call it seated.
Tippet step too large for this family
Check
- ?Fails at the join under the first hard take
- ?Inspect step 01
Then
- →Retie. Do not dress a defective structure and call it seated.
Dry fluoro seat
Check
- ?Glazed tippet at the join
- ?Inspect step 03
Then
- →Retie. Do not dress a defective structure and call it seated.
Same failure class, different geometry. Open the plates — Diagnose still starts from the symptom.
Not ideal for
- ×Braid primary joins
- ×Extreme mismatch