Aussie Quickie
Australian quickie
Joining braided main line to a fluorocarbon leader. Tie a Bimini twist in the braid first; NetKnots says the leader then goes on in a matter of seconds.
Line-to-line · Intermediate · Braid / Monofilament / Fluorocarbon · 4 steps
ApplicationsHow to tie itFinished structure
No drawing of this exact knot yet. The written steps are the reference.
- Diagram in reviewA drawing of the Aussie Quickie itself is being made. Until then, follow the written steps.
Step 01
Tie a Bimini twist in the braid to make a doubled section with a loop at its end, then lay about 15 cm (6 in) of leader alongside the doubled braid.
No drawing of this exact knot yet. The written steps are the reference.
You should now seeA firm Bimini at the base of the double, an open loop at its far end, and the leader lying along the double with its end reaching past the loop.
If it goes wrongStarting from single braid, or from a loop made with a quick knot instead of a Bimini. The leader wraps have too little to grip and the join slides under load.
Fix: Tie a Bimini twist first. If its wraps have gaps or the loop slips when you pull it, cut it off and tie the Bimini again.
Why: The leader wraps grip two strands of braid at once. The doubled braid gives them enough bulk to bite on, and the Bimini keeps the double from pulling apart.
- Diagram in reviewA drawing of the Aussie Quickie itself is being made. Until then, follow the written steps.
Step 02
Starting just behind the loop, wrap the leader around the doubled braid 13 times, working away from the loop toward the Bimini.
No drawing of this exact knot yet. The written steps are the reference.
You should now seeThirteen even leader wraps on the double, each touching the next, the first close behind the loop and the leader end at the wrap farthest from it.
If it goes wrongWraps crossing over each other or spreading apart, or wrapping toward the loop instead of away from it. A crossed wrap shows as a bump in the coil.
Fix: Unwind back to the last clean wrap and lay the rest side by side again, moving away from the loop.
Why: Wrapping away from the loop leaves the leader end at the far end of the coil, so it can come back along the wraps and through the loop in the next step.
- Diagram in reviewA drawing of the Aussie Quickie itself is being made. Until then, follow the written steps.
Step 03
Bring the leader tag back along the wraps to the loop, pass it through the loop, and pinch it there between thumb and finger.
No drawing of this exact knot yet. The written steps are the reference.
You should now seeThe leader tag through the loop and held in the pinch, with all 13 wraps still sitting in place on the double.
If it goes wrongTaking the tag around the loop instead of through it, or loosening the pinch. The wraps spring open as soon as the tag is let go.
Fix: Rewrap any wraps that opened, pass the tag through the middle of the loop again, and keep pinching until the leader is pulled in the next step.
Why: The tag through the loop is what the wraps close down on. Once the leader is pulled, the coil traps the tag and cannot unwind.
- Diagram in reviewA drawing of the Aussie Quickie itself is being made. Until then, follow the written steps.
Step 04
Hold the doubled braid firmly and pull on the leader, letting its tag hang free. When the coils have closed up, pull very hard on both lines, then trim the tag close.
No drawing of this exact knot yet. The written steps are the reference.
You should now seeThe leader coils packed against each other in a neat barrel, the tag standing out from one end, and no movement in the coil under the hard pull.
If it goes wrongPulling on the tag instead of the leader, or trimming before the hard pull. The coil looks finished but slips the first time a fish loads it.
Fix: If the coil moves under the hard pull or the wraps bunch unevenly, cut the knot off and tie it again from the Bimini loop.
Why: Holding the braid still while pulling the leader lets the coils close in order from one end. The hard pull on both lines sets them before the tag is cut.
Aussie Quickie — finished-state checks, on the shared reference layout
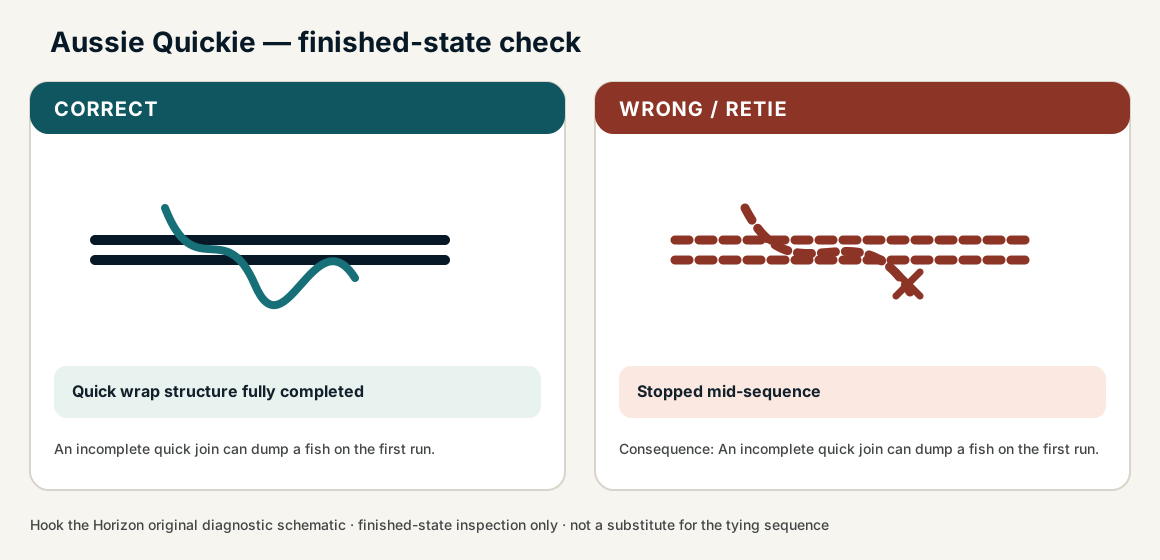
When this family fails, it fails as these. The recovered end still outranks the name.
Bight in the heavier leader; lighter line wraps the bight, then tucks.
- !Bight in the lighter line — the wraps have nothing to bite
- !Wraps walked off the bight instead of packed against the fold
- !Tag never tucked back through the bight, so the wraps dump
- !Leader wrapped on single braid or a loop made without a Bimini twist, so the join slides under load
- !Tag passed around the loop instead of through it, so the wraps spring open
- !Coils not set with a hard pull on both lines before trimming, so they slip when a fish loads them
Loose early braid wraps on the leader
Walks later even if the lock looks tidy
The first wraps are the bite — slack braid will not hold · step 02
Incomplete lock hitch
Braid walks on the leader under a run
The lock is not optional on this slim join · step 03
Long stiff tags left for the guides
Click-through and then a dumped join
Trim after the lock; tags that tick will fail the guides first · step 04
Braid walks on leader
Check
- ?Wrap density
- ?Lock complete
Then
- →Retie
- →Step up to FG when time allows
Finished check failed — Stopped mid-sequence
Check
- ?Quick wrap structure fully completed
- ?Seated without open loops
- ?Tags controlled
Then
- →Retie. An incomplete quick join can dump a fish on the first run.
Loose early braid wraps on the leader
Check
- ?Walks later even if the lock looks tidy
- ?Inspect step 02
Then
- →Retie. Do not dress a defective structure and call it seated.
Incomplete lock hitch
Check
- ?Braid walks on the leader under a run
- ?Inspect step 03
Then
- →Retie. Do not dress a defective structure and call it seated.
Long stiff tags left for the guides
Check
- ?Click-through and then a dumped join
- ?Inspect step 04
Then
- →Retie. Do not dress a defective structure and call it seated.
Same failure class, different geometry. Open the plates — Diagnose still starts from the symptom.
Not ideal for
- ×Absolute maximum slim FG profile
- ×Equal thin mono joins