Surgeon’s Loop
Double surgeon’s loop
A fixed loop tied quickly in the end of a line, for a loop-to-loop connection or to let a lure or fly move freely on the loop.
Finished structure
No drawing of this exact knot yet. The written steps are the reference.
- Diagram in reviewA drawing of the Surgeon’s Loop itself is being made. Until then, follow the written steps.
Step 01
Fold the end of the line back on itself to make a bight a little longer than the loop you want.
No drawing of this exact knot yet. The written steps are the reference.
You should now seeA doubled section of line with the bight at one end and the tag lying beside the standing line.
If it goes wrongMaking the bight too short. You find out in step 2, when there is not enough doubled line to tie the overhand and still leave a usable loop.
Fix: Unfold it and double more line. The spare tag is trimmed off at the end.
Why: The doubled line is tied as if it were a single strand, so both the knot and the loop come out of this length.
- Diagram in reviewA drawing of the Surgeon’s Loop itself is being made. Until then, follow the written steps.
Step 02
Tie an overhand knot in the doubled line, then pass the bight through the same overhand a second time.
No drawing of this exact knot yet. The written steps are the reference.
You should now seeA loose knot showing two turns of doubled line around each other, the bight sticking out one side and the standing line and tag out the other.
If it goes wrongMaking only one pass, or letting the two strands of the double twist over each other. You see a single crossing, or strands that swap sides inside the knot.
Fix: Back the bight out, lay the two strands flat side by side, and make both passes again.
Why: Two passes make it a surgeon's loop, a double overhand tied in doubled line. Animated Knots notes that a third pass adds little and makes the knot bulkier.
- Diagram in reviewA drawing of the Surgeon’s Loop itself is being made. Until then, follow the written steps.
Step 03
Slide the knot along the doubled line until the loop is the size you want.
No drawing of this exact knot yet. The written steps are the reference.
You should now seeA loop of the size you need, with the loose knot sitting where you want it on the doubled line.
If it goes wrongLeaving the loop size until after the knot starts to close. Once it tightens, the loop cannot be changed.
Fix: If the knot has started to close on a loop of the wrong size, loosen it with a fingernail and slide it before it sets.
Why: Loop size can only be changed while the knot is loose. Once it closes, the loop stays that size.
- Diagram in reviewA drawing of the Surgeon’s Loop itself is being made. Until then, follow the written steps.
Step 04
Wet the knot, then pull the loop against the standing line and tag held together until the knot closes.
No drawing of this exact knot yet. The written steps are the reference.
You should now seeA tight, rounded knot with the loop on one side, the standing line and tag on the other, and no turns sitting loose.
If it goes wrongPulling only the standing line so the tag side stays loose. The knot looks lumpy and closes unevenly.
Fix: Wet the knot again and pull the loop against the standing line and tag together.
Why: Animated Knots says to lubricate and pull tight without naming which parts to pull; pulling the loop against both strands of the double closes it evenly.
- Diagram in reviewA drawing of the Surgeon’s Loop itself is being made. Until then, follow the written steps.
Step 05
Trim the tag close to the knot.
No drawing of this exact knot yet. The written steps are the reference.
You should now seeA short tag end and a closed knot that does not move when you pull on the loop.
If it goes wrongTrimming before the knot is fully closed. The tag can pull back inside the knot.
Fix: If the tag is already cut and the knot is loose, cut the loop off and tie it again.
Why: Trim last, after the knot has closed under a firm pull.
Surgeon’s Loop — finished-state checks, on the shared reference layout
When this family fails, it fails as these. The recovered end still outranks the name.
A loop that stays the size you made, with a return that cannot cinch.
- !Loop cinched around the hardware — action is dead
- !Return path reversed, so it becomes a slip loop
- !Fluoro in a lock that only behaves on mono
- !Seated on the standing line alone, leaving the tag side loose so the tag pulls back inside
- !Tag trimmed before the knot fully closed, leaving it loose
- !Strands of the double crossed over each other inside the knot
- !Loop changes size under a test pull, showing the knot has not seated
Single pass only — not a Surgeon's loop
May slip and the eye walks
Double pass is the minimum; one pass is an overhand loop · step 02
Messy multi-pass body
Weaker eye, bulk that ticks
Clean passes keep the lump compact and load-bearing · step 02
Passes not completed through the loop
Unreliable — the eye never locked
Every pass must go through the loop before the seat · step 03
Too bulky for small guides or keepers
Check
- ?Compare to Perfection Loop size
Then
- →Use Perfection Loop
- →Drop to double surgeon
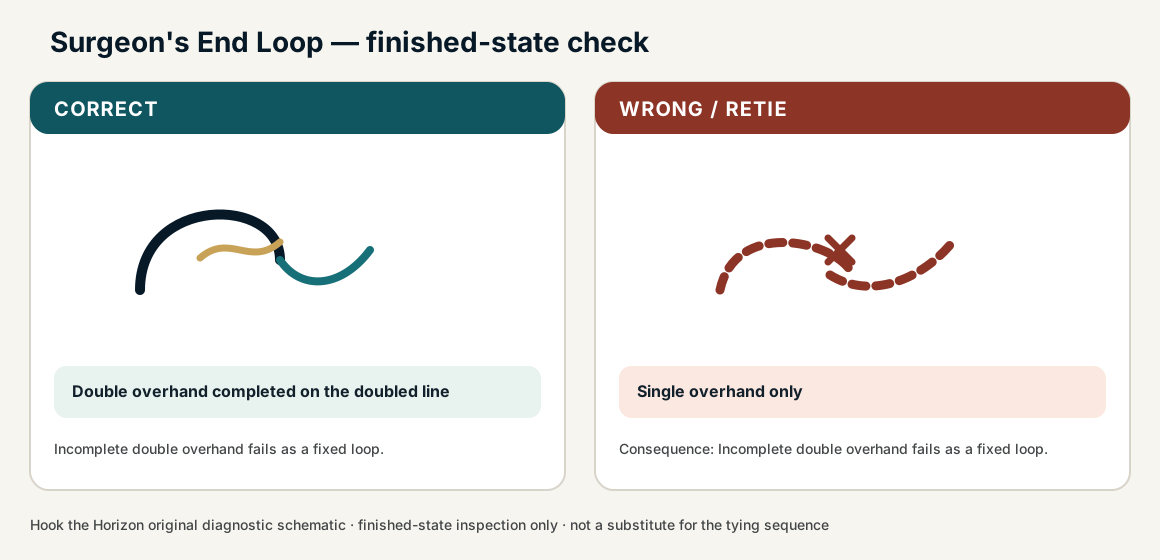
Finished check failed — Single overhand only
Check
- ?Double overhand completed on the doubled line
- ?Loop size stable after draw
- ?Tags exit cleanly
Then
- →Retie. Incomplete double overhand fails as a fixed loop.
Single pass only — not a Surgeon's loop
Check
- ?May slip and the eye walks
- ?Inspect step 02
Then
- →Retie. Do not dress a defective structure and call it seated.
Messy multi-pass body
Check
- ?Weaker eye, bulk that ticks
- ?Inspect step 02
Then
- →Retie. Do not dress a defective structure and call it seated.
Passes not completed through the loop
Check
- ?Unreliable — the eye never locked
- ?Inspect step 03
Then
- →Retie. Do not dress a defective structure and call it seated.
Same failure class, different geometry. Open the plates — Diagnose still starts from the symptom.
Not ideal for
- ×When the absolute smallest loop knot is required
- ×Very fine tippet where the double-overhand bulk matters