Rapala Knot
Rapala loop knot
Loop knot popular for hardbaits so the lure can swing freely.
Finished structure
No drawing of this exact knot yet. The written steps are the reference.
- Diagram in reviewA drawing of the Rapala Knot itself is being made. Until then, follow the written steps.
Step 01
Tie a loose overhand knot in the line, leaving a long tag below it, then pass the tag end through the eye of the lure.
No drawing of this exact knot yet. The written steps are the reference.
You should now seeAn open overhand in the line with the lure hanging on the tag below it, and enough tag past the eye to wrap and tuck twice.
If it goes wrongLetting the overhand pull snug while you handle the lure. A closed overhand will not take the tag back through at the next step.
Fix: Work the overhand open with a fingertip until the tag passes through it easily.
Why: The overhand becomes the collar of the finished knot. The tag goes through it twice, so it has to stay loose until the final pull.
- Diagram in reviewA drawing of the Rapala Knot itself is being made. Until then, follow the written steps.
Step 02
Bring the tag end back through the overhand knot, so the lure hangs in a loop of line below it.
No drawing of this exact knot yet. The written steps are the reference.
You should now seeThe lure hanging in a loop below the overhand, with the tag coming out of the overhand beside the standing line.
If it goes wrongPassing the tag beside the overhand instead of through it. Nothing then holds the loop, and it slides shut on the eye.
Fix: Trace the tag from the eye. If it misses the overhand, pull it back and thread it through the loop of the overhand before wrapping.
Why: The loop size is not fixed yet. Animated Knots stresses leaving the loop long enough that the lure is not gripped, since free movement is the reason to tie this knot.
- Diagram in reviewA drawing of the Rapala Knot itself is being made. Until then, follow the written steps.
Step 03
Wrap the tag end 3 times around the standing line, working away from the overhand.
No drawing of this exact knot yet. The written steps are the reference.
You should now seeThree even turns side by side on the standing line just above the overhand, with the tag free at the end of the last turn.
If it goes wrongTurns crossing or bunching, seen as a lump instead of three neat turns, or extra turns added that leave the tag too short for the tucks.
Fix: Unwind back to the overhand and make the 3 turns again, laying each beside the last with light tension on the tag.
Why: Animated Knots and NetKnots both use 3 turns. The locking comes from the two tucks in the next step, not from the number of turns.
- Diagram in reviewA drawing of the Rapala Knot itself is being made. Until then, follow the written steps.
Step 04
Pass the tag back through the overhand, then through the loop that pass just made. Wet the knot, pull the standing line while holding the tag, then pull both to tighten. Trim the tag.
No drawing of this exact knot yet. The written steps are the reference.
You should now seeA compact knot sitting above an open loop that lets the lure swing freely, and a short tag that stays put when you tug the standing line.
If it goes wrongSkipping the last tuck through the new loop, or pulling the standing line without holding the tag. The loop pulls down toward the eye or the knot slips.
Fix: If the loop has shrunk onto the eye or the knot slides, cut it off and tie it again. Set the loop size before any pull, while the turns are loose.
Why: Holding the tag while the standing line is pulled closes the knot without drawing the tag back through. The last tuck through the new loop is what separates the Rapala from the Non-Slip Mono Loop.
Rapala Knot — finished-state checks, on the shared reference layout
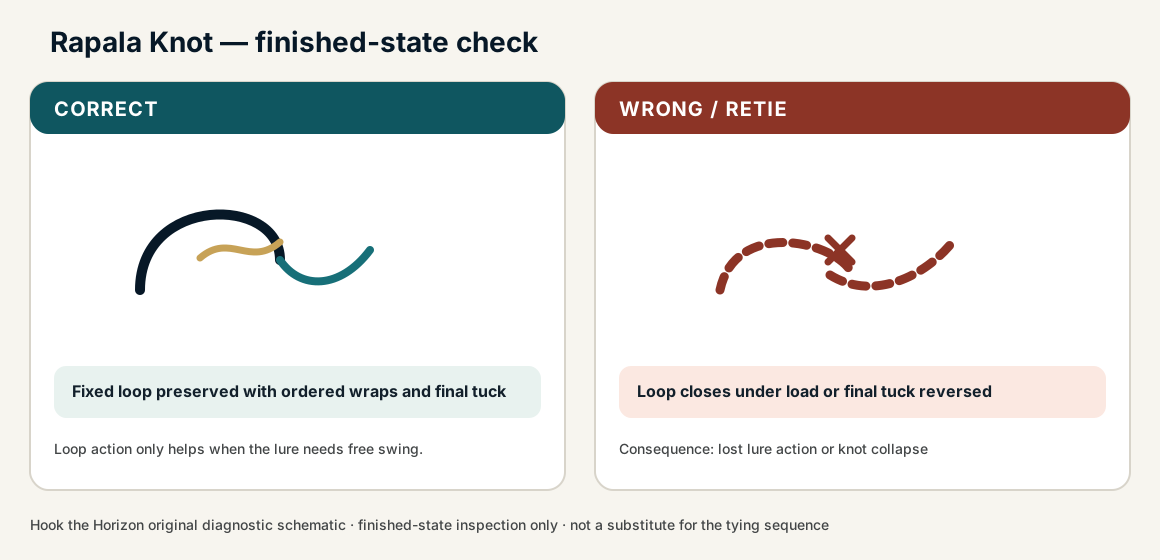
When this family fails, it fails as these. The recovered end still outranks the name.
Rapala Knot — what fails and what to do
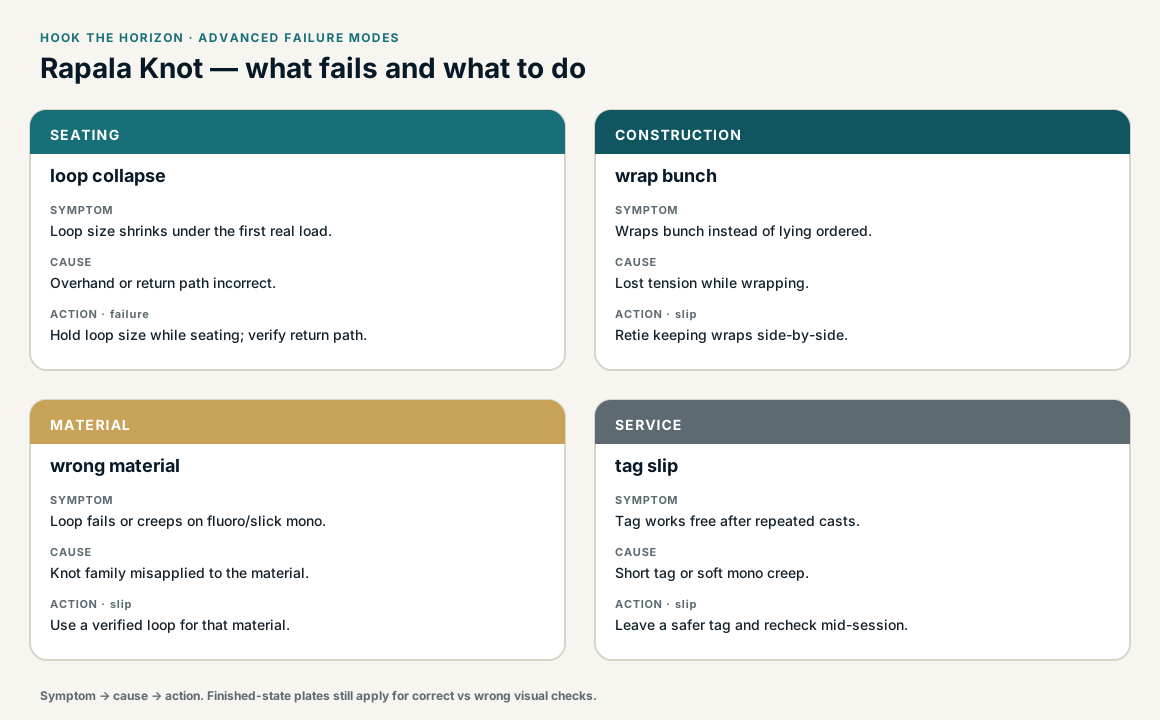
A loop that stays the size you made, with a return that cannot cinch.
- !Loop cinched around the hardware — action is dead
- !Return path reversed, so it becomes a slip loop
- !Fluoro in a lock that only behaves on mono
- !Last tuck through the new loop left out
- !Standing line pulled without holding the tag, drawing the loop down onto the eye
- !Tag passed beside the overhand, so the loop slides shut on the eye
Wrong return path collapsed the loop
Hardbait sits dead against the eye
The return must leave an open non-slip collar · step 04
Under-wrapped light line on the standing part
The lure loop walks and the action dies
Rapala holds loop size with wraps on the standing, not the hardware · step 03
Tag never went back through the overhand
A slip loop, not a Rapala
Missing the overhand is a different knot · step 02
Loop walks or collapses
Check
- ?Inspect overhand closure
Then
- →Retie; consider non-slip mono loop as alternate
Loop size shrinks under the first real load.
Check
- ?Look for: Loop size shrinks under the first real load.
Then
- →Hold loop size while seating; verify return path.
Wraps bunch instead of lying ordered.
Check
- ?Look for: Wraps bunch instead of lying ordered.
Then
- →Retie keeping wraps side-by-side.
Loop fails or creeps on fluoro/slick mono.
Check
- ?Look for: Loop fails or creeps on fluoro/slick mono.
Then
- →Use a verified loop for that material.
Tag works free after repeated casts.
Check
- ?Look for: Tag works free after repeated casts.
Then
- →Leave a safer tag and recheck mid-session.
Finished check failed — loop closes under load
Check
- ?fixed loop size is preserved after seating
- ?wraps around the standing line stay ordered
- ?final tuck locks without collapsing the loop
Then
- →Retie. lost lure action or knot collapse.
Wrong return path collapsed the loop
Check
- ?Hardbait sits dead against the eye
- ?Inspect step 04
Then
- →Retie. Do not dress a defective structure and call it seated.
Under-wrapped light line on the standing part
Check
- ?The lure loop walks and the action dies
- ?Inspect step 03
Then
- →Retie. Do not dress a defective structure and call it seated.
Tag never went back through the overhand
Check
- ?A slip loop, not a Rapala
- ?Inspect step 02
Then
- →Retie. Do not dress a defective structure and call it seated.
Same failure class, different geometry. Open the plates — Diagnose still starts from the symptom.
Not ideal for
- ×Fine tippet fly work where a smaller loop knot is preferred
- ×Braid-only terminals without a mono or fluoro working section