Perfection Loop
Angler’s loop
A small fixed loop in the end of a leader, tippet or fly line that lies in line with the standing line. Commonly used for loop-to-loop connections between fly line and leader.
A standing loop locked above so the loop stays open under load.
Finished structure
A standing loop locked above so the loop stays open under load.
step 01 · schematic Size the loop now — it will not change under load.
Step 01
Make a loop at the end of the line by passing the tag end behind the standing line.
Size the loop now — it will not change under load.
You should now seeOne loop in the end of the line, with the tag crossing behind the standing line and a long tag still free.
If it goes wrongCrossing the tag in front of the standing line. The later steps then put the tag on the wrong side, and the knot pulls out when you load it.
Fix: Undo the loop and cross the tag behind the standing line before going on.
Why: The direction of this first crossing decides which side the tag ends up on in step 3, where it has to be trapped between the loops.
step 02 · schematic The loop itself, standing open.
Step 02
Take the tag around the standing line again to make a second loop, and lay it on top of the first, with the tag passing under the standing line.
The loop itself, standing open.
You should now seeTwo loops stacked, the second lying in front of the first, and the tag coming out from under the standing line.
If it goes wrongLaying the second loop behind the first. The loops still look stacked, but in step 4 nothing crosses over the tag.
Fix: Unwind the second loop and make it again so it lies on top of the first.
Why: The second loop becomes the finished loop. It has to sit on top so it can be pulled down through the first loop.
step 03 · schematic Lock above the loop so it cannot close.
Step 03
Bring the tag end across between the two loops and pinch it there.
Lock above the loop so it cannot close.
You should now seeThe tag sandwiched between the front loop and the back loop, held in place by finger and thumb.
If it goes wrongLeaving the tag in front of both loops or behind both. It looks tidy until the knot is pulled, then the loop slips and the knot falls apart.
Fix: Move the tag so it lies between the loops before you pull anything through.
Why: When the second loop is pulled through the first, the first loop closes across the tag and traps it. A tag outside the loops is not trapped.
step 04 · schematic Tag tucked; loop still the size you set.
Step 04
Pull the second loop, the one on top, down through the first loop while keeping the tag pinched between them.
Tag tucked; loop still the size you set.
You should now seeThe second loop sticking out through the first, and the first loop lying across the tag so the tag cannot be lifted out.
If it goes wrongPulling the first loop through the second, or letting the tag slip out as the loop comes through. The tag then lies free outside the knot.
Fix: Pull the loop back out, put the tag between the loops again, and pull the top loop through while holding the tag.
Why: Animated Knots suggests checking at this point that the loop crosses and traps the tag, before any tension goes on.
step 05 · schematic Tag tucked; loop still the size you set.
Step 05
Set the loop to the size you want, wet the knot, and pull the loop and the standing line apart until the knot jams. Trim the tag.
Tag tucked; loop still the size you set.
You should now seeA small, compact knot with the loop lying straight in line with the standing line and a short tag.
If it goes wrongPulling on the tag to tighten. The knot closes crooked and the loop sits off to one side of the standing line.
Fix: Finish seating by pulling the loop against the standing line. If the loop is still set at an angle, cut it off and tie it again.
Why: Loop size can be adjusted until the knot jams, but not after. The knot seats in line with the standing line, which is the reason to choose it when the loop needs to point straight along the line.
Perfection Loop — finished-state checks, on the shared reference layout
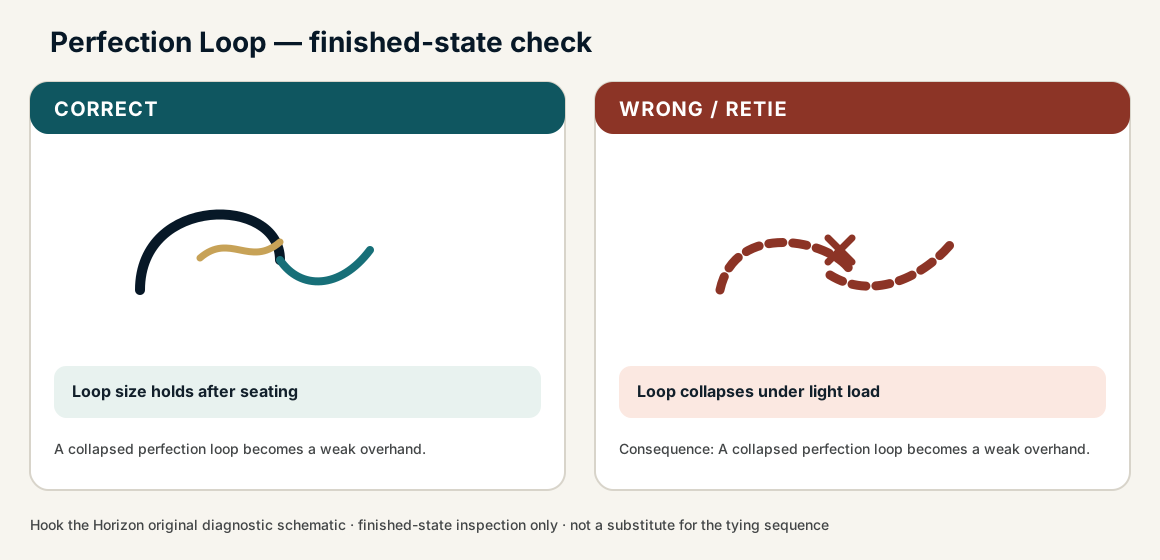
When this family fails, it fails as these. The recovered end still outranks the name.
A loop that stays the size you made, with a return that cannot cinch.
- !Loop cinched around the hardware — action is dead
- !Return path reversed, so it becomes a slip loop
- !Fluoro in a lock that only behaves on mono
- !Tag left outside the loops, so it is not trapped and the loop slips
- !First crossing made in front of the standing line, so the knot pulls out under load
- !Tag slips out from between the loops as the top loop is pulled through
- !Tied in braided line, which is too slick to hold and slips free under pressure
Loops stacked in the wrong order
The eye inverts or becomes a slip loop
Perfection lock is loop order, not wrap count · step 02
Wrong first-loop direction
You tied a slip loop and called it a Perfection
First-loop direction is the knot · step 01
Tag left outside the lock
The eye never locks and walks under load
The tag must be captured in the stacked loops · step 03
Loop slips or collapses
Check
- ?Compare to a trusted diagram step-by-step
Then
- →Practice with rope
- →Retie carefully
Finished check failed — Loop collapses under light load
Check
- ?Loop size holds after seating
- ?Final tuck sits in the classic perfection geometry
- ?Standing line exits in-line with the loop
Then
- →Retie. A collapsed perfection loop becomes a weak overhand.
Loops stacked in the wrong order
Check
- ?The eye inverts or becomes a slip loop
- ?Inspect step 02
Then
- →Retie. Do not dress a defective structure and call it seated.
Wrong first-loop direction
Check
- ?You tied a slip loop and called it a Perfection
- ?Inspect step 01
Then
- →Retie. Do not dress a defective structure and call it seated.
Tag left outside the lock
Check
- ?The eye never locks and walks under load
- ?Inspect step 03
Then
- →Retie. Do not dress a defective structure and call it seated.
Same failure class, different geometry. Open the plates — Diagnose still starts from the symptom.
Not ideal for
- ×Creating a free-swinging lure loop at the eye (use Non-Slip Mono Loop)
- ×Free-swing lure action — this loop is fixed once seated