Homer Rhode Loop Knot
Homer Rhodes · Homer Rhode
Heavy-leader free-swing loop for lures when you want action without a tiny tippet loop knot.
Finished structure
No drawing of this exact knot yet. The written steps are the reference.
- Diagram in reviewA drawing of the Homer Rhode Loop Knot itself is being made. Until then, follow the written steps.
Step 01
Tie a loose overhand knot about 10 cm (4 in) from the end. Pass the tag through the eye and back through the overhand, entering on the side the tag leaves it, then snug the overhand close to the eye.
No drawing of this exact knot yet. The written steps are the reference.
You should now seeA snug overhand in the standing line sitting at or just above the eye, with the tag running through the eye and back through that overhand beside the line.
If it goes wrongTaking the tag back through the overhand from the wrong side. The tag crosses over itself inside the knot and the overhand will not slide close to the eye.
Fix: Pull the tag back out of the overhand and pass it through again from the side where the tag leaves the knot.
Why: The tag has to run through the first knot so the knot can slide along it later. Starting that knot close to the eye keeps the loop size under your control.
- Diagram in reviewA drawing of the Homer Rhode Loop Knot itself is being made. Until then, follow the written steps.
Step 02
Take the tag around the standing line twice, making two side-by-side turns, and pass it through them to tie a second knot above the first. Snug it so it can still slide on the standing line.
No drawing of this exact knot yet. The written steps are the reference.
You should now seeA second knot with two neat parallel turns around the standing line, a short way above the first knot, that moves along the line when pushed.
If it goes wrongThe two turns crossing each other, or the tag wrapped around itself as well as the standing line. The second knot looks lumpy and binds instead of sliding.
Fix: Loosen the second knot, lay the two turns side by side around the standing line only, and snug it again.
Why: The second knot is the stopper. When the standing line is pulled, the first knot slides up the tag until it jams against this knot, and the loop grows by the gap between them.
- Diagram in reviewA drawing of the Homer Rhode Loop Knot itself is being made. Until then, follow the written steps.
Step 03
Slide the second knot along the standing line until the gap between the two knots matches the loop size you want.
No drawing of this exact knot yet. The written steps are the reference.
You should now seeThe first knot still at or near the eye, and a gap to the second knot about as long as the finished loop you want.
If it goes wrongLetting the first knot drift away from the eye while you size the gap, so the loop ends up bigger than planned. The first knot sits visibly clear of the eye.
Fix: Push the first knot back down to the eye, then set the gap again before pulling anything tight.
Why: Once the knots are pulled together the loop cannot be resized. Keeping the first knot at the eye makes the gap the one thing that sets the loop size.
- Diagram in reviewA drawing of the Homer Rhode Loop Knot itself is being made. Until then, follow the written steps.
Step 04
Hold the lure and pull the standing line so the two knots slide together and jam. In heavy leader, grip the lure with pliers and wear gloves for the pull. Trim the tag close.
No drawing of this exact knot yet. The written steps are the reference.
You should now seeThe two knots butted hard against each other with no gap, an open loop at the eye, and a short trimmed tag.
If it goes wrongStopping before the knots meet, leaving a gap between them. The knot is not set, and the loop can creep larger under load.
Fix: Grip the lure with pliers and pull the standing line again until the knots touch. If they will not meet, cut the knot off and tie it again.
Why: Stiff heavy leader resists closing. NetKnots advises pliers and gloves in heavy line to get enough pressure to set both knots against each other.
Homer Rhode Loop Knot — finished-state checks, on the shared reference layout
When this family fails, it fails as these. The recovered end still outranks the name.
A loop that stays the size you made, with a return that cannot cinch.
- !Loop cinched around the hardware — action is dead
- !Return path reversed, so it becomes a slip loop
- !Fluoro in a lock that only behaves on mono
- !A gap left between the two knots, so the loop can creep larger under load
- !Heavy leader set by hand without pliers, so the knots are not pulled firmly together
- !Second knot tied with crossed turns, so it binds before the knots meet
Too few wraps on heavy leader
Loop walks and cinches
Homer Rhode holds loop size with wraps, not hope · step 02
Loop collapsed while seating
A failed Homer Rhode — not a tight loop
Seat without shrinking the loop; a cinch is a noose · step 03
Loop size set after the wraps
You cannot fix the swing after the barrel is on
Size the loop first · step 01
Loop cinches closed
Check
- ?Loop holds under pull
Then
- →Retie
- →Compare to Non-Slip Mono Loop
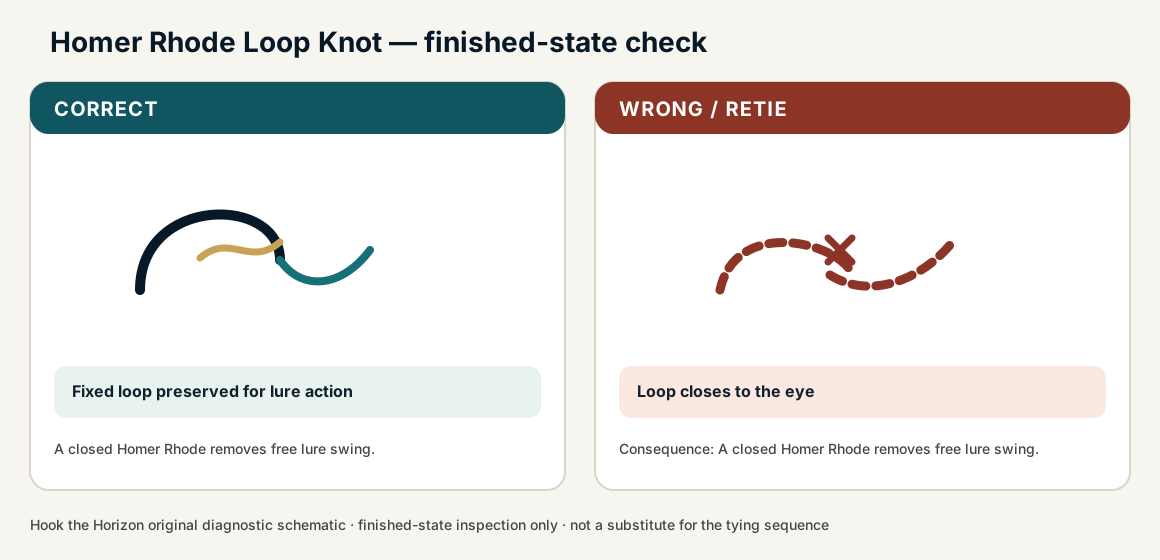
Finished check failed — Loop closes to the eye
Check
- ?Fixed loop preserved for lure action
- ?Wraps ordered on the standing line
- ?Loop does not close under load
Then
- →Retie. A closed Homer Rhode removes free lure swing.
Too few wraps on heavy leader
Check
- ?Loop walks and cinches
- ?Inspect step 02
Then
- →Retie. Do not dress a defective structure and call it seated.
Loop collapsed while seating
Check
- ?A failed Homer Rhode — not a tight loop
- ?Inspect step 03
Then
- →Retie. Do not dress a defective structure and call it seated.
Loop size set after the wraps
Check
- ?You cannot fix the swing after the barrel is on
- ?Inspect step 01
Then
- →Retie. Do not dress a defective structure and call it seated.
Same failure class, different geometry. Open the plates — Diagnose still starts from the symptom.
Not ideal for
- ×Fine tippet dry-fly work
- ×Maximum slim fixed eye