Berkley Braid Knot
Berkley braid
Tying a hook or lure to braided line with the line doubled through the eye, when the eye is large enough to take doubled braid.
Finished structure
No drawing of this exact knot yet. The written steps are the reference.
- Diagram in reviewA drawing of the Berkley Braid Knot itself is being made. Until then, follow the written steps.
Step 01
Double the end of the braid, push the loop through the hook eye, and fold the loop back along the standing line and tag so four strands lie together.
No drawing of this exact knot yet. The written steps are the reference.
You should now seeA doubled loop through the eye and laid back beside the standing line and tag, four strands side by side with the loop end reaching well past them.
If it goes wrongForcing doubled braid through an eye too small for it. The braid frays on the edge of the eye, or the strands cross inside it.
Fix: Pull the loop back out and feed it again with the strands flat. If the eye will not take doubled braid, use a knot tied with a single strand.
Why: The loop end is the working end for the rest of the knot, and it has to be long enough to make all the wraps and still pass back through at the eye.
- Diagram in reviewA drawing of the Berkley Braid Knot itself is being made. Until then, follow the written steps.
Step 02
Hold the four strands together a few inches from the eye and wrap the loop end around all four 8 times, starting at your fingers and working back toward the eye.
No drawing of this exact knot yet. The written steps are the reference.
You should now seeEight even wraps around the bundle of four strands, ending just behind the eye with a small opening left between the nearest wrap and the eye.
If it goes wrongWraps that cross or bunch up, a strand slipping out of the bundle, or losing count. You see a wrap riding over another, or a strand lying outside the wraps.
Fix: Unwind to the last clean wrap, gather the four strands again, and finish the count to eight.
Why: NetKnots notes that the direction you wrap around the bundle does not matter. The count and even spacing do, because crossed wraps close unevenly and leave the barrel loose.
- Diagram in reviewA drawing of the Berkley Braid Knot itself is being made. Until then, follow the written steps.
Step 03
Pass the loop end through the opening just behind the eye, between the eye and the nearest wrap. Wet the knot and pull the standing line with steady, even pressure until the wraps close down behind the eye.
No drawing of this exact knot yet. The written steps are the reference.
You should now seeA compact barrel of wraps snug against the eye, with the loop end and the tag coming out beside it and no gap at the eye.
If it goes wrongPassing the loop through a gap between wraps instead of the opening at the eye, or snatching the line tight. The barrel stops short of the eye or the wraps pile up unevenly.
Fix: If it has not been pulled hard yet, back the loop out and pass it through at the eye. If the wraps have locked out of order, cut the knot off and tie it again.
Why: Wetting the braid lets the wraps slide into place. A steady pull closes them evenly, while a sudden jerk can lock a crossed wrap before the barrel reaches the eye.
- Diagram in reviewA drawing of the Berkley Braid Knot itself is being made. Until then, follow the written steps.
Step 04
Test the knot with a hard pull, then cut off the loop close to the eye and trim the tag, leaving about 6 mm (a quarter inch).
No drawing of this exact knot yet. The written steps are the reference.
You should now seeA tidy barrel at the eye with two short stubs, one from the cut loop and one from the tag, and no movement after the test pull.
If it goes wrongTrimming before the test pull, or cutting the braid tag flush. A braid tag cut too short can pull back into the wraps.
Fix: If the knot moved under the test pull, cut it off and tie it again. Leave the braid tag a little longer than you would on mono.
Why: Braid is slick, so its tag needs more length to stay put. The test pull comes before trimming because a knot that slips is easy to retie while the tag is still long.
Berkley Braid Knot — finished-state checks, on the shared reference layout
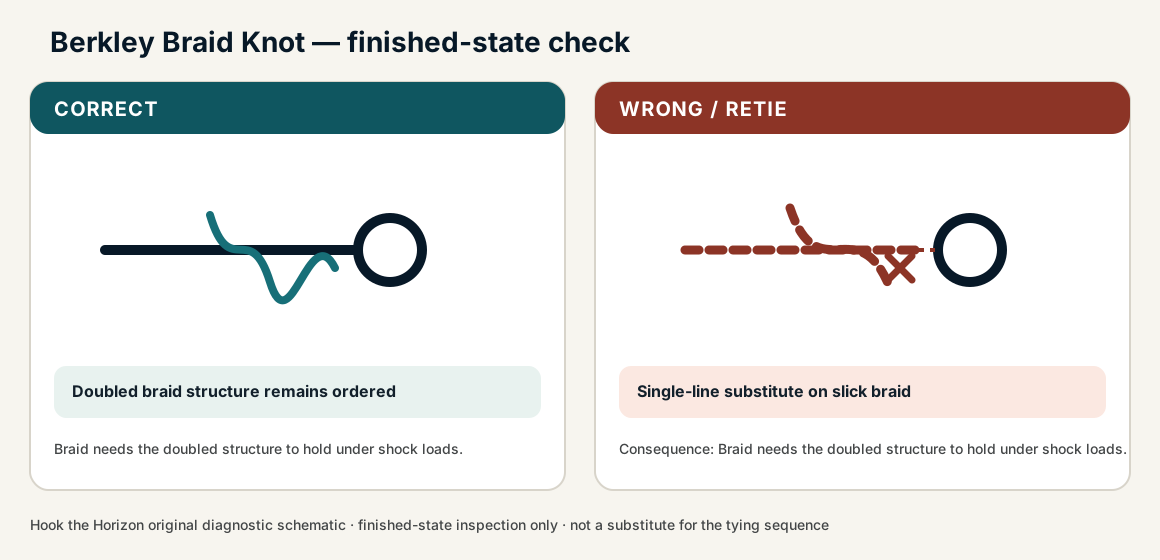
When this family fails, it fails as these. The recovered end still outranks the name.
Braid at the eye with extra passes so the slick line cannot slip.
- !Passes never crossed through the eye
- !Tag not locked after the extra braid passes
- !Used on a small eye that cannot take the bulk
- !Loop passed through a gap between wraps, so the barrel stops short of the eye
- !Pulled tight with a jerk, locking a crossed wrap before the barrel reaches the eye
- !Braid tag cut flush, so it pulls back into the wraps
- !Doubled braid forced through a small eye, fraying on its edge
Uni wraps around one braid strand only
A different knot — doubled braid will walk
Berkley Braid is a Uni barrel on the doubled section, not a single tag · step 02
Barrel closed before it reached the eye
Walks under load on slick superline
Slide the doubled barrel to the eye, then lock · step 03
Eye too small for doubled braid
Frays at the eye or never seats
If the eye will not take two passes, this is the wrong terminal · step 01
Barrel walks or slips under load
Check
- ?Barrel butted to eye
- ?Wrap uniformity
Then
- →Retie with more wraps
- →Confirm eye accepts doubled line
Finished check failed — Single-line substitute on slick braid
Check
- ?Doubled braid structure remains ordered
- ?Wraps seat without springing open
- ?Tag controlled after draw
Then
- →Retie. Braid needs the doubled structure to hold under shock loads.
Uni wraps around one braid strand only
Check
- ?A different knot — doubled braid will walk
- ?Inspect step 02
Then
- →Retie. Do not dress a defective structure and call it seated.
Barrel closed before it reached the eye
Check
- ?Walks under load on slick superline
- ?Inspect step 03
Then
- →Retie. Do not dress a defective structure and call it seated.
Eye too small for doubled braid
Check
- ?Frays at the eye or never seats
- ?Inspect step 01
Then
- →Retie. Do not dress a defective structure and call it seated.
Same failure class, different geometry. Open the plates — Diagnose still starts from the symptom.
Not ideal for
- ×Tiny eyes that will not accept doubled braid
- ×When a simple Palomar already seats cleanly