Bobber Stop Knot
Bobber stopper · Float stop · Slip float stop
Setting the depth of a slip float. The stop grips the main line firmly enough to stop the float, stays small enough to reel through the rod guides, and does not carry the fish.
Utility · Beginner · Monofilament / Fluorocarbon / Braid / Backing · 4 steps
ApplicationsHow to tie itFinished structure
Drawn from a rope model of this knot: which strand passes over which comes from where the rope actually lies.
- 1Stopper line, doubled back2Main line
Move 1 of 1Lay the stopper line along the main line and double it back into a loopYou should now see: A short stopper line lying along the main line, doubled back into an open loop, with its end free. Step 01
Lay a 15 cm (6 in) piece of stopper line along the main line where you want the float to stop, and fold one end back along it to make a loop beside the main line.
You should now seeA loop of stopper line lying against the main line, with the folded-back end crossing over the stopper and the main line at the point you are pinching.
If it goes wrongCutting the stopper piece too short. There is not enough end to take the turns and still grip, and the loop pulls out of your fingers halfway through wrapping.
Fix: Start again with a fresh 15 cm (6 in) piece. The extra length costs nothing, because the tags get trimmed at the end.
Why: Use line about the same diameter as the main line, or Dacron backing. Tie the stop on first: the bead and float then thread on from the hook end and sit below it, and the depth can be changed later by sliding the stop.
- 1Three turns round both lines
Move 1 of 1Wrap the stopper round both lines and through the loop, three timesYou should now see: Three turns of stopper line round both the main line and the stopper's own line, all inside the loop. Step 02
Pinch the loop where the stopper crosses itself and the main line. Take the end around both lines and through the open loop, and repeat until three or four turns lie side by side.
You should now seeThree or four neat turns around the main line and one leg of the stopper, all inside the loop, with the far end of the loop still open.
If it goes wrongToo few turns, or turns that ride over each other. The stop looks fine in your hand but creeps along the line over the first few casts, and the float settles at the wrong depth.
Fix: Unwrap the turns and lay them again side by side. If a finished stop creeps, cut it off and tie a new one with an extra turn, especially on slick braid.
Why: The turns are what grip the main line. Sources give anywhere from two to six. More turns hold better on thin or slick line but make a bulkier knot to pass through the guides.
Move 1 of 1Pull both stopper tags in opposite directions to close the turns on the main lineYou should now see: A small, neat barrel of three turns gripping the main line, snug but not crushing it. Step 03
Wet the turns, then pull the two ends of the stopper line slowly in opposite directions until the turns close down and grip the main line.
You should now seeA small, tight barrel of turns that stays put when you nudge it, with the main line still round and straight on both sides.
If it goes wrongHauling on the ends as hard as you can. The main line under the stop flattens or kinks, and you can see a curl or flat spot when you slide the stop away.
Fix: If the main line is flattened or kinked, cut above the damaged section and rig again. Pull the next stop only until it grips.
Why: Wetting lets the turns slide into place without heat. The stop only has to hold against the float and bead; pulling past that squeezes the main line and leaves a weak spot right where the stop sits.
- 1Tags left long
Move 1 of 1Trim the tags, leaving each about an inch long, and test that the stop slidesYou should now see: Two tags about an inch long, and a stop that slides under firm finger pressure but stays put under the float's weight. Step 04
Trim both tags to short stubs about 6 mm (a quarter inch) long, then push the stop along the main line with your fingers to set the float depth.
You should now seeTwo short stubs standing off the stop. It slides when you push it firmly with your fingers and holds its place when the float rides up against the bead.
If it goes wrongCutting the tags flush against the turns. With nothing left to pull on, a stop that loosens cannot be snugged up again, and a loose stop catches on the guides instead of passing through.
Fix: If the stop has loosened or catches on a guide, cut it off and tie a new one, trimming the tags to short stubs this time.
Why: Short stubs give you something to grip if the stop needs tightening again, and a small, trimmed stop passes through the rod guides on the cast.
Bobber Stop Knot — finished-state checks, on the shared reference layout
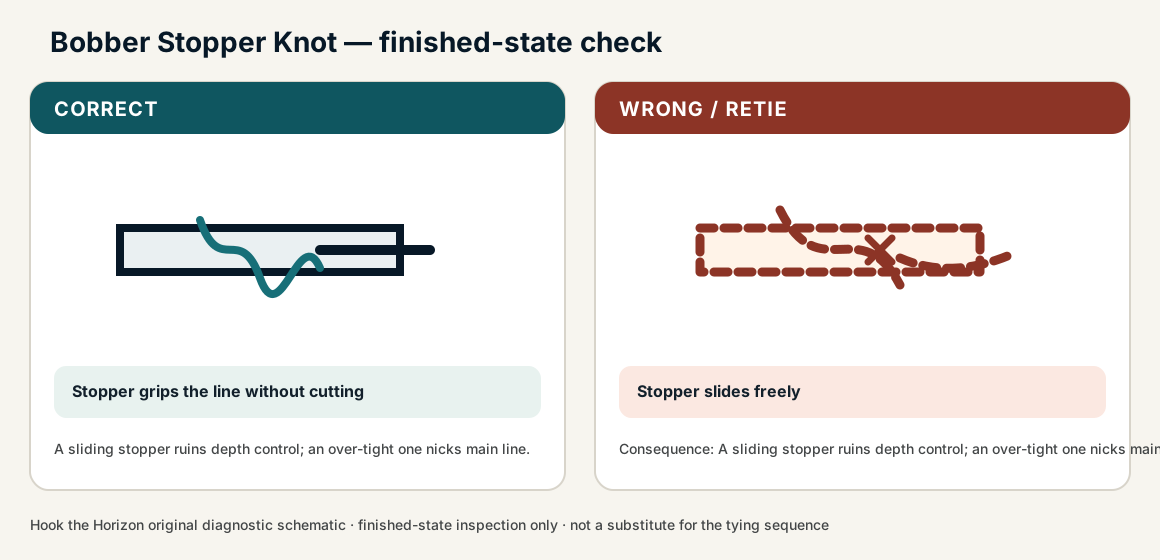
When this family fails, it fails as these. The recovered end still outranks the name.
A grip set on the main line to hold a position, carrying no fish load.
- !Too few wraps for a slick line, so it creeps under casting
- !Drawn down hard enough to flatten the main line — a weak point built on purpose
- !Tags trimmed flush, so it jams in a guide and can no longer be slid
- !Too few turns, so the stop creeps along the line over a few casts
- !Pulled down hard enough to flatten or kink the main line under it
- !Tags cut flush, so a stop that loosens cannot be snugged up and catches in a guide
- !Turns laid over each other instead of side by side
Stop creeps along the main line
The bait fishes deeper every cast and you stop knowing where it is
Grip comes from wrap count and stopper material, not from how hard it is pulled. · step 02
Main line deformed under the stop
A weak spot built deliberately into the middle of the main line
A stop pulled past snug crushes mono; the flat spot is where the line will break. · step 03
Tags trimmed flush so the stop jams in a guide
Catches on the cast, and cannot be slid to change depth
The long tags are what let it fold through a guide and what you grip to move it. · step 04
The float creeps deeper over a few casts
Check
- ?Mark the line and watch whether the stop has moved after ten casts
Then
- →Add a wrap
- →Switch to Dacron backing as the stopper material
The stop catches in a guide on the cast or the retrieve
Check
- ?Draw the stop through the tip guide by hand
Then
- →Retie leaving longer tags
- →Re-dress the wraps so they lie side by side
The main line shows a flat spot or a curl where the stop has been sitting
Check
- ?Slide the stop and run the line between your fingers
Then
- →Cut back past the marked section and re-rig
- →Set the next stop snug rather than crushed
Finished check failed — Stopper slides freely
Check
- ?Stopper grips the line without cutting
- ?Position holds after cast pressure
- ?Coils neat and short
Then
- →Retie. A sliding stopper ruins depth control; an over-tight one nicks main line.
Stop creeps along the main line
Check
- ?The bait fishes deeper every cast and you stop knowing where it is
- ?Inspect step 02
Then
- →Retie. Do not dress a defective structure and call it seated.
Main line deformed under the stop
Check
- ?A weak spot built deliberately into the middle of the main line
- ?Inspect step 03
Then
- →Retie. Do not dress a defective structure and call it seated.
Tags trimmed flush so the stop jams in a guide
Check
- ?Catches on the cast, and cannot be slid to change depth
- ?Inspect step 04
Then
- →Retie. Do not dress a defective structure and call it seated.
Not ideal for
- ×Carrying load — it is a position stop, not a connection
- ×Leaving on the line for weeks, where it will bed a mark into mono
- ×Very heavy braid, where a bought rubber stop grips better