Australian Plait
Aussie plait · Australian braid double
Making a double line for a loop-to-loop leader connection, as an alternative to the Bimini twist. The finished knot passes easily through rod guides or rollers.
Finished structure
No drawing of this exact knot yet. The written steps are the reference.
- Diagram in reviewA drawing of the Australian Plait itself is being made. Until then, follow the written steps.
Step 01
Double the line into a loop as long as the double you need, leaving a long tag end to plait with.
No drawing of this exact knot yet. The written steps are the reference.
You should now seeA long doubled loop with the tag end hanging free beside the standing line, clearly longer than the plait you plan to make.
If it goes wrongLeaving the tag too short for the plait your line class needs. The tag runs out before the plait reaches its length, with nothing left for the finish.
Fix: Unpick the plait and start again with a longer tag. A plait that is too short cannot be lengthened once it is made.
Why: NetKnots sizes the plait by line class, from 2.5 to 4 cm (1 to 1.5 in) in the lightest line to 20 cm (8 in) in the heaviest. The tag has to cover that length plus a few more plaits for the finish.
- Diagram in reviewA drawing of the Australian Plait itself is being made. Until then, follow the written steps.
Step 02
Wrap the tag back around the main line and between the two strands of the loop, then keep plaiting with alternating over and under wraps, pinching the plait and keeping tension on the main line.
No drawing of this exact knot yet. The written steps are the reference.
You should now seeA tight, even plait growing along the base of the loop, each crossing the same size and no loose strand bulging out.
If it goes wrongMissing an alternation or letting the main line go slack. The plait shows a loose or doubled crossing and spreads open when you stop pinching it.
Fix: Unpick back to the last tight, even crossing and plait on from there, keeping tension on the main line and the plait pinched.
Why: The plait holds because each wrap of the tag squeezes the two loop strands together. A loose crossing lets the strands slide, and the double can pull out under load.
- Diagram in reviewA drawing of the Australian Plait itself is being made. Until then, follow the written steps.
Step 03
Fold the tag into a small loop, plait about three more times with the doubled tag, then pull the big line loop through the small tag loop.
No drawing of this exact knot yet. The written steps are the reference.
You should now seeThe big loop passed all the way through the small tag loop at the end of the plait, with the tag loop still open.
If it goes wrongPulling the tag loop shut before the big loop has gone all the way through it. The finish closes on nothing and the end of the plait starts to open.
Fix: Open the tag loop again and pull the rest of the big loop through before tightening anything.
Why: Closing the tag loop around the doubled line stops the plait unravelling from its end.
- Diagram in reviewA drawing of the Australian Plait itself is being made. Until then, follow the written steps.
Step 04
Wet the knot and tighten it by pulling the tag steadily. Give the double a hard pull, then trim the tag.
No drawing of this exact knot yet. The written steps are the reference.
You should now seeThe tag loop closed tight around the base of the double at the end of the plait, the plait still firm under a hard pull on the double, and a short tag.
If it goes wrongTightening fast and dry. The finish sits loose and the end of the plait opens under the test pull.
Fix: If the tag loop closed on nothing or the plait loosened, cut the plait off and tie it again. Pull hard on the double before trimming the tag.
Why: Pulling the tag smoothly draws the last plaits tight behind it.
Australian Plait — finished-state checks, on the shared reference layout
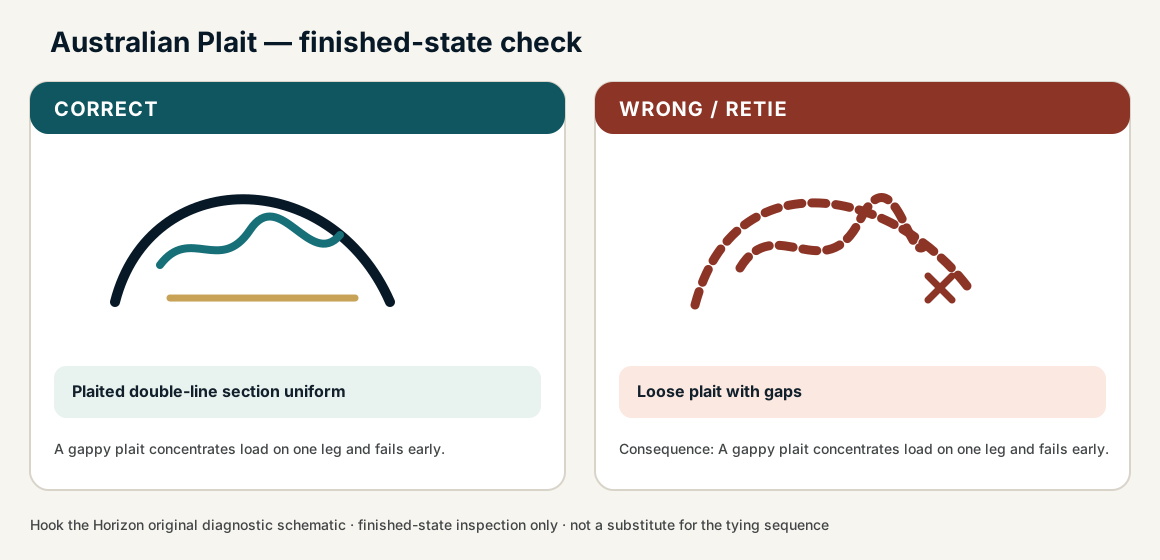
When this family fails, it fails as these. The recovered end still outranks the name.
A load-bearing loop of doubled line, locked so it cannot crawl back.
- !Twists or wraps not packed before the lock
- !Lock that crawls back into the double
- !Uneven legs — one side takes the shock
- !Plait left loose, so the loop strands slide and the double pulls out under load
- !Tag loop closed on nothing, so the plait unravels from its end
- !Finish tightened fast and dry, so it sits loose and the end of the plait opens
Loose plait that is not a double
Unravels in the guides
A plaited double is density plus a lock, not three loose strands · step 02
Too short a double to plait tightly
Cannot be locked; walks on the first load
The double has to be long enough to plait and lock · step 01
Incomplete lock at the plait end
Unlocks on the first load
An unlocked plait end is unfinished · step 03
Plait loosens under load
Check
- ?Plait density
- ?End lock
Then
- →Rebuild tighter
- →Use Bimini when conditions allow
Finished check failed — Loose plait with gaps
Check
- ?Plaited double-line section uniform
- ?Locking finish secure
- ?Legs share load
Then
- →Retie. A gappy plait concentrates load on one leg and fails early.
Loose plait that is not a double
Check
- ?Unravels in the guides
- ?Inspect step 02
Then
- →Retie. Do not dress a defective structure and call it seated.
Too short a double to plait tightly
Check
- ?Cannot be locked; walks on the first load
- ?Inspect step 01
Then
- →Retie. Do not dress a defective structure and call it seated.
Incomplete lock at the plait end
Check
- ?Unlocks on the first load
- ?Inspect step 03
Then
- →Retie. Do not dress a defective structure and call it seated.
Same failure class, different geometry. Open the plates — Diagnose still starts from the symptom.
Not ideal for
- ×Quick bankside reties
- ×Beginners without practice