Trilene Knot
Two-turn clinch variant
Tying monofilament or fluorocarbon line to a hook, swivel, snap or lure, with two passes through the eye. Check that the eye is large enough to take both turns.
Finished structure
Drawn from a rope model of this knot: which strand passes over which comes from where the rope actually lies.
- 1Two passes through the eye2Tag end
Move 1 of 1Push the tag through the eye, then through again, leaving a small double loopYou should now see: Two turns of line through the eye lying side by side, a small double loop at the eye, and a long tag. Step 01
Pass the tag end through the eye, then pass it through again in the same direction, leaving a small double loop of line on the far side of the eye.
You should now seeTwo turns of line through the eye forming a small round double loop that a fingertip can fit through, with a long tag left over for wrapping.
If it goes wrongPulling the double loop closed against the eye, or letting its two strands spread apart. A closed loop leaves no opening for the tag at step 3.
Fix: Open the double loop again and keep a fingertip in it while you wrap, so both strands stay together and open.
Why: The two passes share the contact with the eye between two strands. Animated Knots notes this helps retain line strength, especially when the eye is wider than the line.
- 1Five turns about the standing line2Double loop beside the eye
Move 1 of 1Wrap the tag round the standing line five times, working away from the eyeYou should now see: An even spiral of five turns, with the small double loop still open between the eye and the first turn. Step 02
Wrap the tag end around the standing line 5 or 6 times, working up the line away from the eye.
You should now seeAn even spiral of 5 or 6 turns on the standing line above the eye, with the double loop still open below it.
If it goes wrongTurns that cross or pile on top of each other, seen as a bump in the spiral. It often happens when the double loop is let go and the line twists.
Fix: Unwind to the eye, check the double loop is still open, and wrap again with light tension so each turn sits beside the last.
Why: The turns close onto the standing line as a coil when the knot is pulled. A crossed turn presses on one spot of the line instead of sharing the grip along the coil.
- 1Double loop
Move 1 of 1Bring the tag back and pass it through the double loop beside the eyeYou should now see: The tag through the double loop at the eye, with both strands of that loop around it and the turns still even. Step 03
Bring the tag end back down to the eye and thread it through both strands of the double loop together.
You should now seeThe tag passing through the double loop beside the eye, with both strands of that loop lying around it.
If it goes wrongThreading the tag through only one strand of the double loop. Look closely before pulling: the tag should have two strands around it, not one.
Fix: Pull the tag back out and thread it again through both strands at once, before putting any pull on the knot.
Why: Passing through both strands ties the double loop and the turns together. Through one strand only, the other strand is left free and the turns can unwind under load.
Move 1 of 1Wet the knot, draw the turns down against the eye, and trim the tagYou should now see: The turns closed into a neat barrel against the eye, the double loop snug on the eye, and a short tag. Step 04
Wet the knot and pull the standing line against the hook with slow, steady pressure until the turns close on the eye. Trim the tag, leaving a stub of about 3 mm (an eighth of an inch).
You should now seeA tight coil of turns right against the eye, the double loop snug around the eye, and a short stub of tag left standing.
If it goes wrongStopping before the knot reaches the eye, or pulling hard on dry line. A gap shows between the coil and the eye, or the line looks crinkled after the pull.
Fix: If there is a gap, wet the knot and pull again slowly. If the line is crinkled or the knot will not close, cut it off and tie it again.
Why: Animated Knots advises against trimming the Trilene tag too short. A small stub leaves the tag room to draw in slightly as the knot settles under load without pulling out.
Trilene Knot — finished-state checks, on the shared reference layout
When this family fails, it fails as these. The recovered end still outranks the name.
Wraps down the standing part, then a tuck that jams the barrel to the eye.
- !Wraps walked or crossed — load on one turn of the barrel
- !Barrel never jammed to the eye, so the tuck is decoration
- !Tag never tucked, or the extra Improved / Trilene pass missing
- !Tag threaded through only one strand, so the turns can unwind under load
- !Double loop slipping behind the eye as the knot is pulled tight
- !Pulled tight dry or fast, leaving the line crinkled
- !Tag trimmed flush, with no stub to draw in as the knot settles
Wraps crossed after the double pass
Load concentrates on one turn and the stack breaks early
Trilene shares load across parallel wraps on two eye passes · step 02
Stack never butted to the eye
The double pass is unfinished and the knot can walk
The lock is the seated stack against both eye loops · step 04
Tag through one loop only
The knot unwinds — that is a single-pass clinch, not a Trilene
The tag must return through both eye loops before the seat · step 03
Dry seat on fluoro glazed the stack
The line is already scored before the first fish
Final seat locks the double pass; heat from a dry cinch is a retie · step 04
Slips at eye
Check
- ?Confirm double pass
Then
- →Retie with double pass
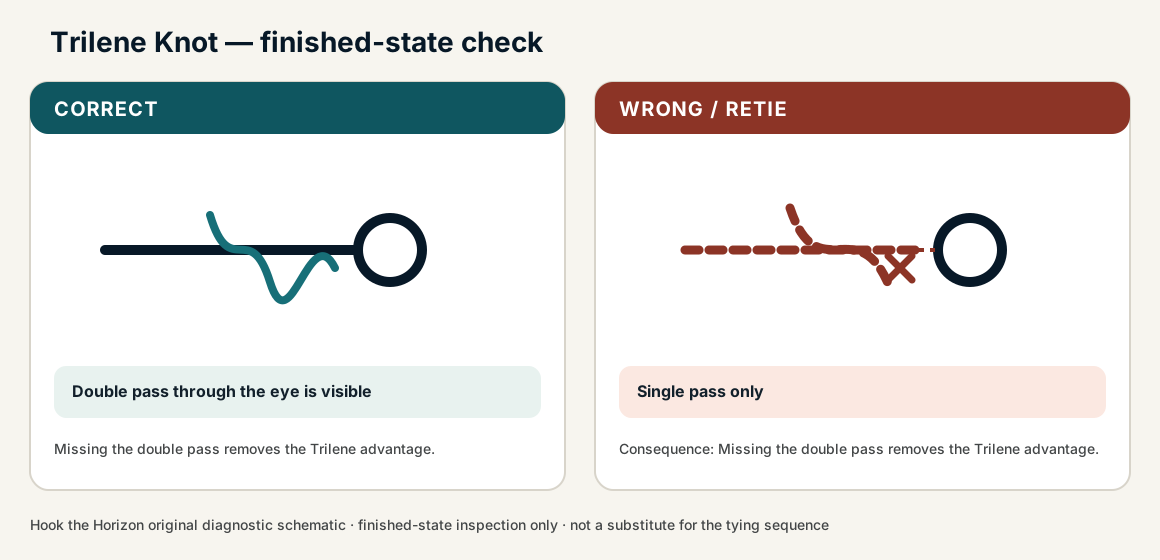
Finished check failed — Single pass only
Check
- ?Double pass through the eye is visible
- ?Ordered coil seats fully
- ?Both eye passes remain parallel
Then
- →Retie. Missing the double pass removes the Trilene advantage.
Wraps crossed after the double pass
Check
- ?Load concentrates on one turn and the stack breaks early
- ?Inspect step 02
Then
- →Retie. Do not dress a defective structure and call it seated.
Stack never butted to the eye
Check
- ?The double pass is unfinished and the knot can walk
- ?Inspect step 04
Then
- →Retie. Do not dress a defective structure and call it seated.
Tag through one loop only
Check
- ?The knot unwinds — that is a single-pass clinch, not a Trilene
- ?Inspect step 03
Then
- →Retie. Do not dress a defective structure and call it seated.
Same failure class, different geometry. Open the plates — Diagnose still starts from the symptom.
Not ideal for
- ×Tiny eyes
- ×Braid without testing