Willis Knot
Willis lead-core connection
Joining a mono leader to lead-core line. The leader is pushed into the hollow sheath after the lead is cut out, and the sheath grips it like a finger trap.
Finished structure
No drawing of this exact knot yet. The written steps are the reference.
- Diagram in reviewA drawing of the Willis Knot itself is being made. Until then, follow the written steps.
Step 01
Pinch the lead-core line near its end and slide the outer sheath back 10 to 15 cm (4 to 6 in). Cut the exposed inner lead, then slide the sheath back out straight so its end is empty.
No drawing of this exact knot yet. The written steps are the reference.
You should now see10 to 15 cm (4 to 6 in) of hollow, unbroken sheath extending past the cut end of the lead.
If it goes wrongNicking the sheath while cutting the lead. A nick shows as broken fibres, and the sheath can split there once it is loaded.
Fix: Cut off the end past the nick and slide the sheath back again on fresh line.
Why: The hollow sheath is what grips the leader. It has to be whole along its length to squeeze down evenly.
- Diagram in reviewA drawing of the Willis Knot itself is being made. Until then, follow the written steps.
Step 02
Tie a loose overhand knot in the empty sheath, close to where the cut end of the lead sits inside. If the leader is braid, tie two loose overhands instead of one.
No drawing of this exact knot yet. The written steps are the reference.
You should now seeA loose overhand in the hollow sheath next to the end of the lead, open enough that the hollow still runs through it.
If it goes wrongPulling the overhand tight at this stage, which flattens the sheath so the leader will not pass through it. You feel the leader stop at the knot in step 3.
Fix: Work the overhand loose with a fingernail until the sheath under it is round again.
Why: The overhand gets moved to the open end and tightened in step 4. NetKnots adds a second overhand when the leader is braid.
- Diagram in reviewA drawing of the Willis Knot itself is being made. Until then, follow the written steps.
Step 03
Slide the mono leader into the open end of the sheath and push it all the way in, through the overhand, until it touches the end of the lead.
No drawing of this exact knot yet. The written steps are the reference.
You should now seeThe leader has gone the full length of the hollow sheath, and you feel it stop against the lead.
If it goes wrongStopping partway, often where the overhand pinches the sheath. A short insertion leaves less leader inside for the sheath to grip.
Fix: Loosen the overhand, straighten the sheath, and push the leader in again until it stops at the lead.
Why: The sheath works like a finger trap: the more leader inside it, the longer the length that gets squeezed when the line is pulled.
- Diagram in reviewA drawing of the Willis Knot itself is being made. Until then, follow the written steps.
Step 04
Work the overhand along the sheath toward its open end, stopping just short of the end, then pull the overhand tight over the leader inside.
No drawing of this exact knot yet. The written steps are the reference.
You should now seeA tight overhand sitting just short of the open end of the sheath, with the leader coming straight out of the end.
If it goes wrongPushing the overhand off the end of the sheath, or tightening it so far back that the end of the sheath hangs loose around the leader.
Fix: If the overhand has come off the end, cut back to fresh sheath and start again. If it is too far back, loosen it and work it closer to the end.
Why: The overhand clamps the open end of the sheath onto the leader and holds it there while the finger-trap grip takes the load.
- Diagram in reviewA drawing of the Willis Knot itself is being made. Until then, follow the written steps.
Step 05
Pull hard on the leader and the lead-core line in opposite directions to test the join.
No drawing of this exact knot yet. The written steps are the reference.
You should now seeThe sheath squeezes down around the leader like a finger trap, and the leader does not slip at the overhand.
If it goes wrongSkipping the test or pulling gently. A join that creeps shows as the leader sliding out of the end of the sheath or the overhand shifting.
Fix: If anything moves, cut the sheath off behind the overhand and tie the knot again, pushing the leader in fully.
Why: NetKnots says the finished knot should not slip under a hard pull. Testing by hand is the only way to find a short insertion before it is fished.
Willis Knot — finished-state checks, on the shared reference layout
When this family fails, it fails as these. The recovered end still outranks the name.
A grip on a spool arbor or a lead-core sheath — not a join of equals.
- !Too few turns on a slick arbor
- !Sheath cut while the core is pulled
- !Overhand missing on the leader so the trap never sets
- !Sheath nicked or cut while the lead was removed
- !Leader inserted only part of the way to the lead
- !Sheath worn, so it no longer grips even where it looks whole
- !Braided leader held with one overhand instead of two
Lead left under the grip instead of trapped
Leader slides out
The sheath must close over a trapped lead, not sit on it · step 02
Shallow insertion
Walks on the fish
Insertion depth is the Willis trap · step 03
Sheath cut while pulling the lead
The fly-line coating parts — dead line
A ragged break can cut the sheath; that is not a knot failure you dress out · step 01
Leader slides out or the sheath parts
Check
- ?Sheath intact
- ?Insertion length
- ?No lead under the trap
Then
- →Cut back and restart
- →Do not use on solid braid
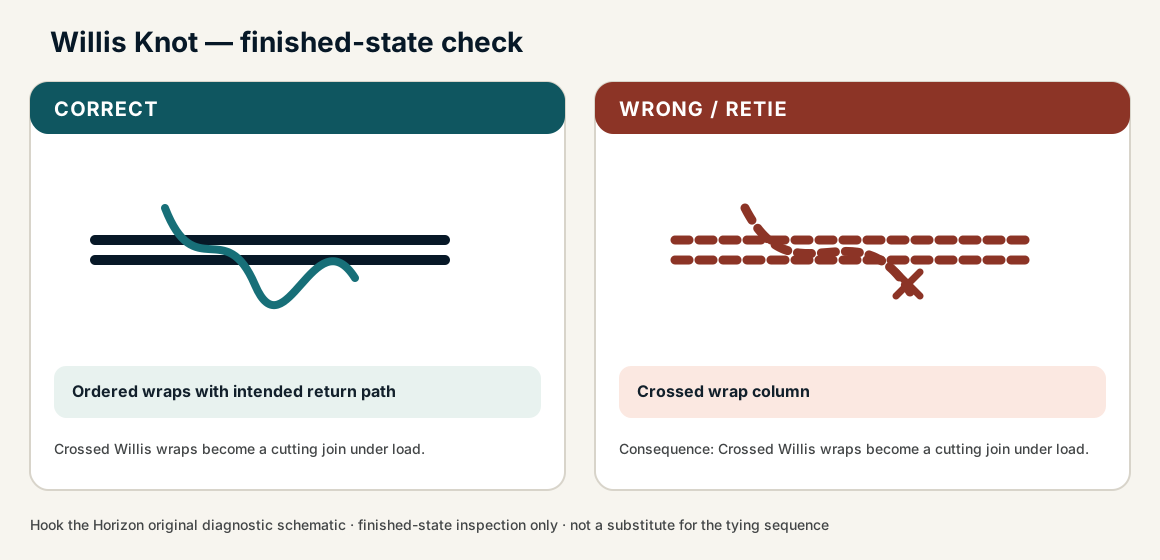
Finished check failed — Crossed wrap column
Check
- ?Ordered wraps with intended return path
- ?Compact slim junction
- ?Tags controlled
Then
- →Retie. Crossed Willis wraps become a cutting join under load.
Lead left under the grip instead of trapped
Check
- ?Leader slides out
- ?Inspect step 02
Then
- →Retie. Do not dress a defective structure and call it seated.
Shallow insertion
Check
- ?Walks on the fish
- ?Inspect step 03
Then
- →Retie. Do not dress a defective structure and call it seated.
Sheath cut while pulling the lead
Check
- ?The fly-line coating parts — dead line
- ?Inspect step 01
Then
- →Retie. Do not dress a defective structure and call it seated.
Same failure class, different geometry. Open the plates — Diagnose still starts from the symptom.
Not ideal for
- ×Solid braid
- ×Normal mono/fluoro main line
- ×Damaged sheath