Egg Loop Knot
Egg loop · Bait loop
Makes a loop on the hook shank to hold eggs, a roe sack or soft bait, most often when fishing for salmon or steelhead.
Finished structure
No drawing of this exact knot yet. The written steps are the reference.
- Diagram in reviewA drawing of the Egg Loop Knot itself is being made. Until then, follow the written steps.
Step 01
Take about 1.2 m (4 ft) of leader, push one end through the hook eye and lay it along the shank to the bend. Pinch it against the shank with thumb and forefinger.
No drawing of this exact knot yet. The written steps are the reference.
You should now seeThe end of the leader lies flat along the shank to the bend, with the long part of the leader coming out of the eye on the other side.
If it goes wrongStopping the tag short of the bend or letting it drift to the side of the shank. The first wraps then miss it and the knot pulls loose.
Fix: Lay the tag straight down the shank again and keep it pinched there until several wraps are on.
Why: The wraps in the next step grip the hook by trapping this end against the shank, so it needs to reach as far as the wraps will go.
- Diagram in reviewA drawing of the Egg Loop Knot itself is being made. Until then, follow the written steps.
Step 02
Starting at the eye, wrap the long part of the leader tightly around the shank and the tag, working toward the bend. Make 10 to 20 wraps.
No drawing of this exact knot yet. The written steps are the reference.
You should now seeA tight column of wraps lying side by side from the eye toward the bend, covering the tag, with no shank showing between turns.
If it goes wrongWraps climbing over each other or spreading apart with gaps. A crossed wrap bites into the line beneath it and the column loosens when loaded.
Fix: Unwind back to the last neat wrap and lay the rest side by side, keeping tension on the leader between turns.
Why: This first column does most of the gripping, as in a snell. Even, adjacent turns share the load along the shank.
- Diagram in reviewA drawing of the Egg Loop Knot itself is being made. Until then, follow the written steps.
Step 03
Hold the wraps firmly and push the free end of the long leader back through the eye from the bottom, the opposite way to the first pass, until about 2.5 cm (1 in) sticks out.
No drawing of this exact knot yet. The written steps are the reference.
You should now seeThe leader end pokes out of the eye on the opposite side from where it first went in, a large loop of leader hangs beside the hook, and the first wraps are still tight.
If it goes wrongLetting go of the wraps to thread the eye, so the column unwinds, or feeding the end through the same way as the first pass, which leaves no loop to wrap with.
Fix: Keep your pinch on the wraps while you thread. If the column has loosened or the end went the wrong way, pull it back out and rewrap from the eye.
Why: The large loop hanging beside the hook makes the second set of wraps, and part of it later becomes the bait loop.
- Diagram in reviewA drawing of the Egg Loop Knot itself is being made. Until then, follow the written steps.
Step 04
Using the loop of leader hanging beside the hook, make 5 more wraps around the shank, over both the tag and the leader end, just tight enough to stay in place.
No drawing of this exact knot yet. The written steps are the reference.
You should now seeA short second set of wraps beside the first, loose enough that the leader end running under them still slides when tugged.
If it goes wrongPulling these wraps tight by hand. They pinch the leader underneath so it cannot be drawn through, and the bait loop cannot form.
Fix: Loosen the second wraps until the leader end slides under them, then carry on.
Why: These wraps are closed in the next step by pulling the leader end through the eye, which draws them down evenly.
- Diagram in reviewA drawing of the Egg Loop Knot itself is being made. Until then, follow the written steps.
Step 05
Pinch the hook and wraps, then slowly pull the leader end until the whole leader has come through the eye. Push a little leader back through the eye to open a loop on top of the shank.
No drawing of this exact knot yet. The written steps are the reference.
You should now seeTwo tight sets of wraps on the shank and a small loop of line standing up along the top of the hook, ready to hold eggs or a spawn sack.
If it goes wrongPulling the leader through without pinching the wraps. The second set slides or unwinds, and there is no loop left to open.
Fix: If the wraps have spread, cut the leader off and tie again. If they held but the loop is too small, push a little more leader back through the eye.
Why: The loop is adjustable. Pushing line back through the eye opens it for the bait, and pulling the leader closes it down on the bait.
Egg Loop Knot — finished-state checks, on the shared reference layout
When this family fails, it fails as these. The recovered end still outranks the name.
Wraps on the shank that capture the eye; the hook is the hardware.
- !Wraps walked off the shank
- !Eye never captured — the snell is a clinch in disguise
- !Bait loop closed, or the hair not trapped
- !Leader end short of the bend, so the wraps do not trap it and the knot pulls loose
- !First wraps crossed or gapped, so the column loosens under load
- !Wraps not pinched while the leader is threaded or pulled through, so they unwind
- !Second wraps pulled tight by hand, which jams the leader and no bait loop forms
Shank wraps stacked on each other
Column cuts the line or walks onto the bend
Even shank wraps to the eye carry the bait loop · step 02
Seat closed the bait loop
A closed egg loop cannot hold bait
The open bait loop is the job — dress wraps without shrinking it · step 03
Loop size set after the wraps
Bait sits wrong and the loop will not hold
Set hair/loop length before the shank column · step 01
Loop collapses or slides
Check
- ?Parallel wrap inspection
- ?Loop size under light tension
Then
- →Retie with even wraps
Finished check failed — Loop collapses under light tension
Check
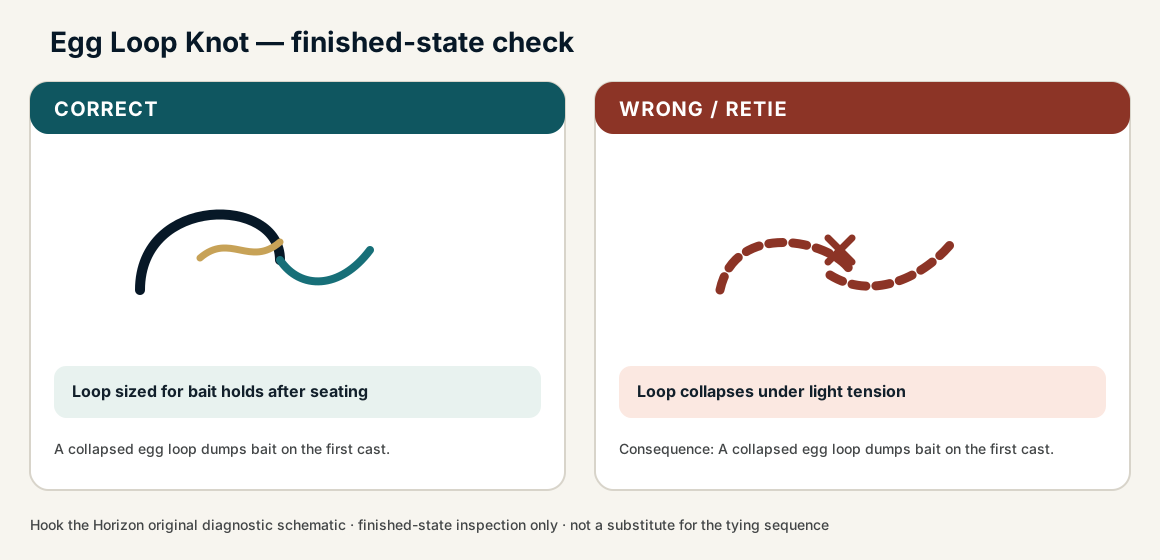
- ?Loop sized for bait holds after seating
- ?Shank wraps ordered
- ?Loop does not collapse
Then
- →Retie. A collapsed egg loop dumps bait on the first cast.
Shank wraps stacked on each other
Check
- ?Column cuts the line or walks onto the bend
- ?Inspect step 02
Then
- →Retie. Do not dress a defective structure and call it seated.
Seat closed the bait loop
Check
- ?A closed egg loop cannot hold bait
- ?Inspect step 03
Then
- →Retie. Do not dress a defective structure and call it seated.
Loop size set after the wraps
Check
- ?Bait sits wrong and the loop will not hold
- ?Inspect step 01
Then
- →Retie. Do not dress a defective structure and call it seated.
Same failure class, different geometry. Open the plates — Diagnose still starts from the symptom.
Not ideal for
- ×Lure-only terminals
- ×Quick lure changes